Location Scouting for Shoe Photography
Last week I gambled on a location. I had our location #1 picked out and scouted, however our location #2 was quite a bit further north so I used Google street to review the location. The nice thing about Google street is you can see the most recent images from the past year but you can also toggle back to previous dates to see the foliage or structure around the location during a specific month, August for example. I was fairly confident this location fit our clients request for a street look which I wanted to look very clean. I searched Kansas City Public Works website to see which streets had been recently repaved and found our location all from the online information available to me. Location #1 was amazing and I was riding high headed to location #2 with the rest of our team in tow. And then we saw that the shoulders of the road had recently been groomed. Foliage completely cut back and ugly, trash littering the spaces where the foliage used to be. It was a mess and wouldn’t work for our needs. Thankfully I had a couple of other options to fall back on (pictured below) and they worked for us.
When it comes to location scouting for shoe photography, the process shares similarities with scouting for other types of shoots—whether it’s apparel, jewelry, or accessories like sunglasses. However, there are distinct elements specific to shoes that are worth considering. Here’s a breakdown of what I focus on when scouting locations specifically for footwear photography, especially in the context of athletic and movement-based shoots.
I found this newly paved street through Kansas City Public works website. It's currently 2024 so I could tell it was newly paved almost a year ago. But Google Street only showed December which doesn't give me foliage info.
If I click "See more dates" I can get an idea for foliage around the road during various months of the year and hopefully one the matches the month of our shoot date.
The clean street concept was easier to come by with these resources to help me.
Elevation & Ground Surfaces
Shoes being on the ground always presents unique challenges in photography. For most shots, you’re either looking down at the shoes or getting low to the ground—sometimes even lying down—to capture the right angle. Because of this, I prioritize locations that offer some form of elevation. This could be anything from an overpass to a steep hill or even a road shoulder with a significant drop-off. These elevated areas allow you to shoot from lower angles without physically lowering yourself, providing dynamic and engaging perspectives of the shoes.
We found these gaps between rocks that allowed us to stand below the runner as she crossed over the rocks. Much more comfortable than layer on the ground.
We found these steep hills made from tailings from a local construction site. The hills were not naturally that steep but man made gave us this specific look.
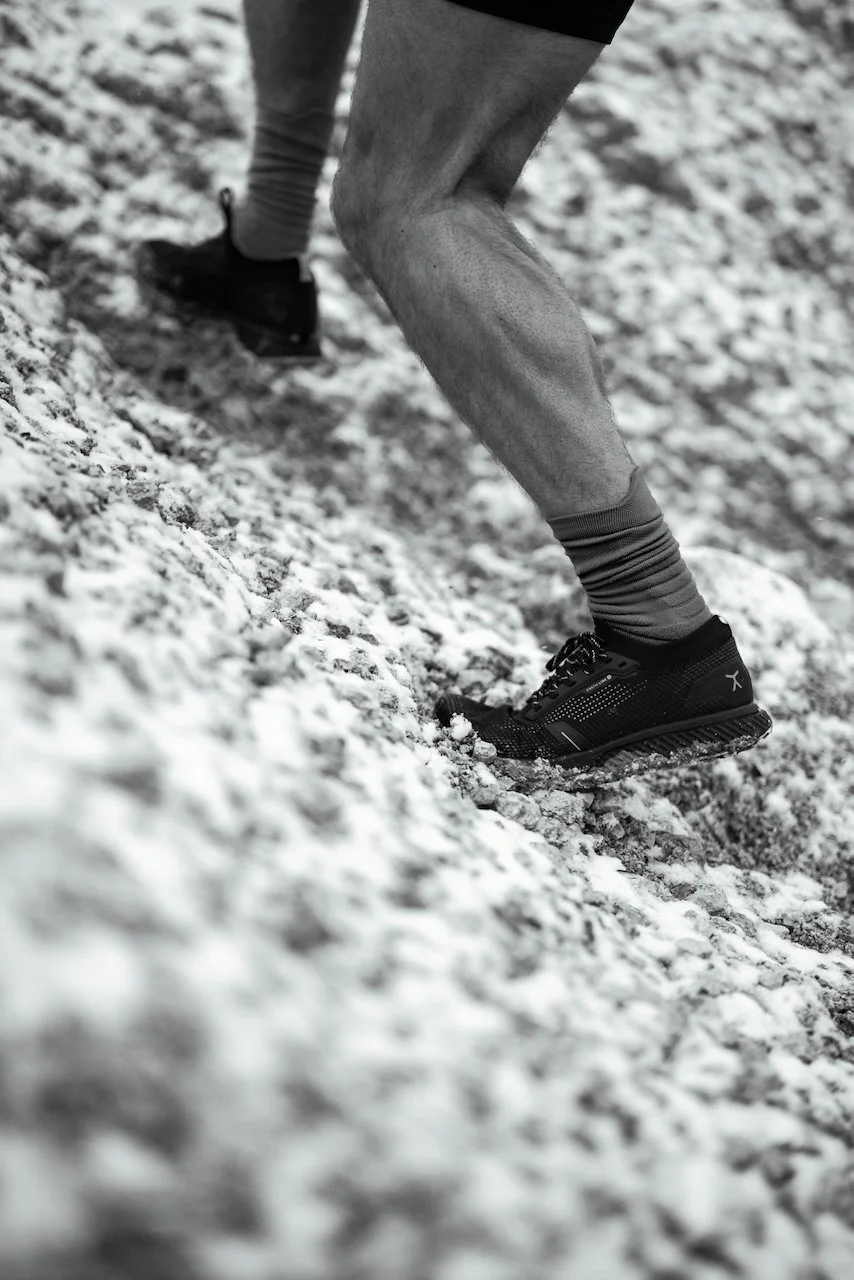
This trail shoot in the snow was a good lesson on avoiding mud and wet conditions where possible.
Practical considerations for clean shoes
Keeping the shoes clean before and during the shoot is a factor. This can be challenging, especially in outdoor environments or after rain. I always scout for locations that allow easy on-site preparation, where the model can put the shoes on just before shooting to avoid dirt and damage. Bringing along protective coverings like booties or slides can also help mitigate this issue as you move between locations. Having a couple of dirt scuffs is very different from having mud caked on a shoe and making it impossible to capture.
Location tracking and management
Tracking potential locations is a critical part of the process. I use my iPhone’s native apps to snap photos or take videos of interesting spots I come across. These are then organized into folders by city, type of shoot, or even season. I use the following naming conventions for these folders to keep everything organized:
PL - Kansas City, Spring
PL - Austin, Trail
PL - Traverse City, Summer
When you save a photo, iPhone geotags it so I can quickly go back and see where the location was and when. I’m mostly focused with just getting the picture and adding to a folder so I can review it later. I use tools like Google Earth and Google Street View. They are invaluable for initial scouting, especially when determining whether a location is public or private. I will add a caveat that most of the time if Google street was able to access a space, it’s most likely public, but not all the time. I experienced this when shooting on a road that lead to a state prison.
Geotagging has saved me so many times where I only have enough time to snap a picture and can't remember where it was.
Using this example because having a space where you can lift the feet up is definitely helpful.
Find clean backdrops
With shoes you’re either shooting from the ground up, top down, or you also have an option to shoot level with your subject. In this case, having a clean backdrop is super helpful so you can isolate the shoes. I love being at the top of a hill or object and being able to shoot shoes against the sky, as an example. Again, you are just so low to the ground you can’t easily shoot against the sky unless you find the right location.
Ledges and other elevating objects can be helpful. This is a sport court we found north of the city.
Pulling shoes from the ground
Another option is to elevate the shoes themselves. Finding spaces where the subject can be sitting on a ledge or putting their shoe up to tie it are helpful options.


