A process for optimizing images for instagram
With how much time we put into images before eventually uploading to Instagram, I thought it would be important to pin down a great process for keeping the clarity in the images. Photographing sports and movement requires expensive equipment to get those crisp images without compromising on image quality. It’s already bad enough cropping from full frame images to post to social media, losing clarity makes it so much worse! Through networking, blogs, and various research, I found some ideas that were interesting but needed more examining. I tested a few different variations, outlined below.
For brevity, feel free to skip to my recommendation below.
My testing process:
Export with desired test settings with watermark
Add to photos app on Mac.
Upload to instagram test account.
Download image using Toolzu.com IG image downloader from test account.
Compare images using human eye.
things I wanted to test:
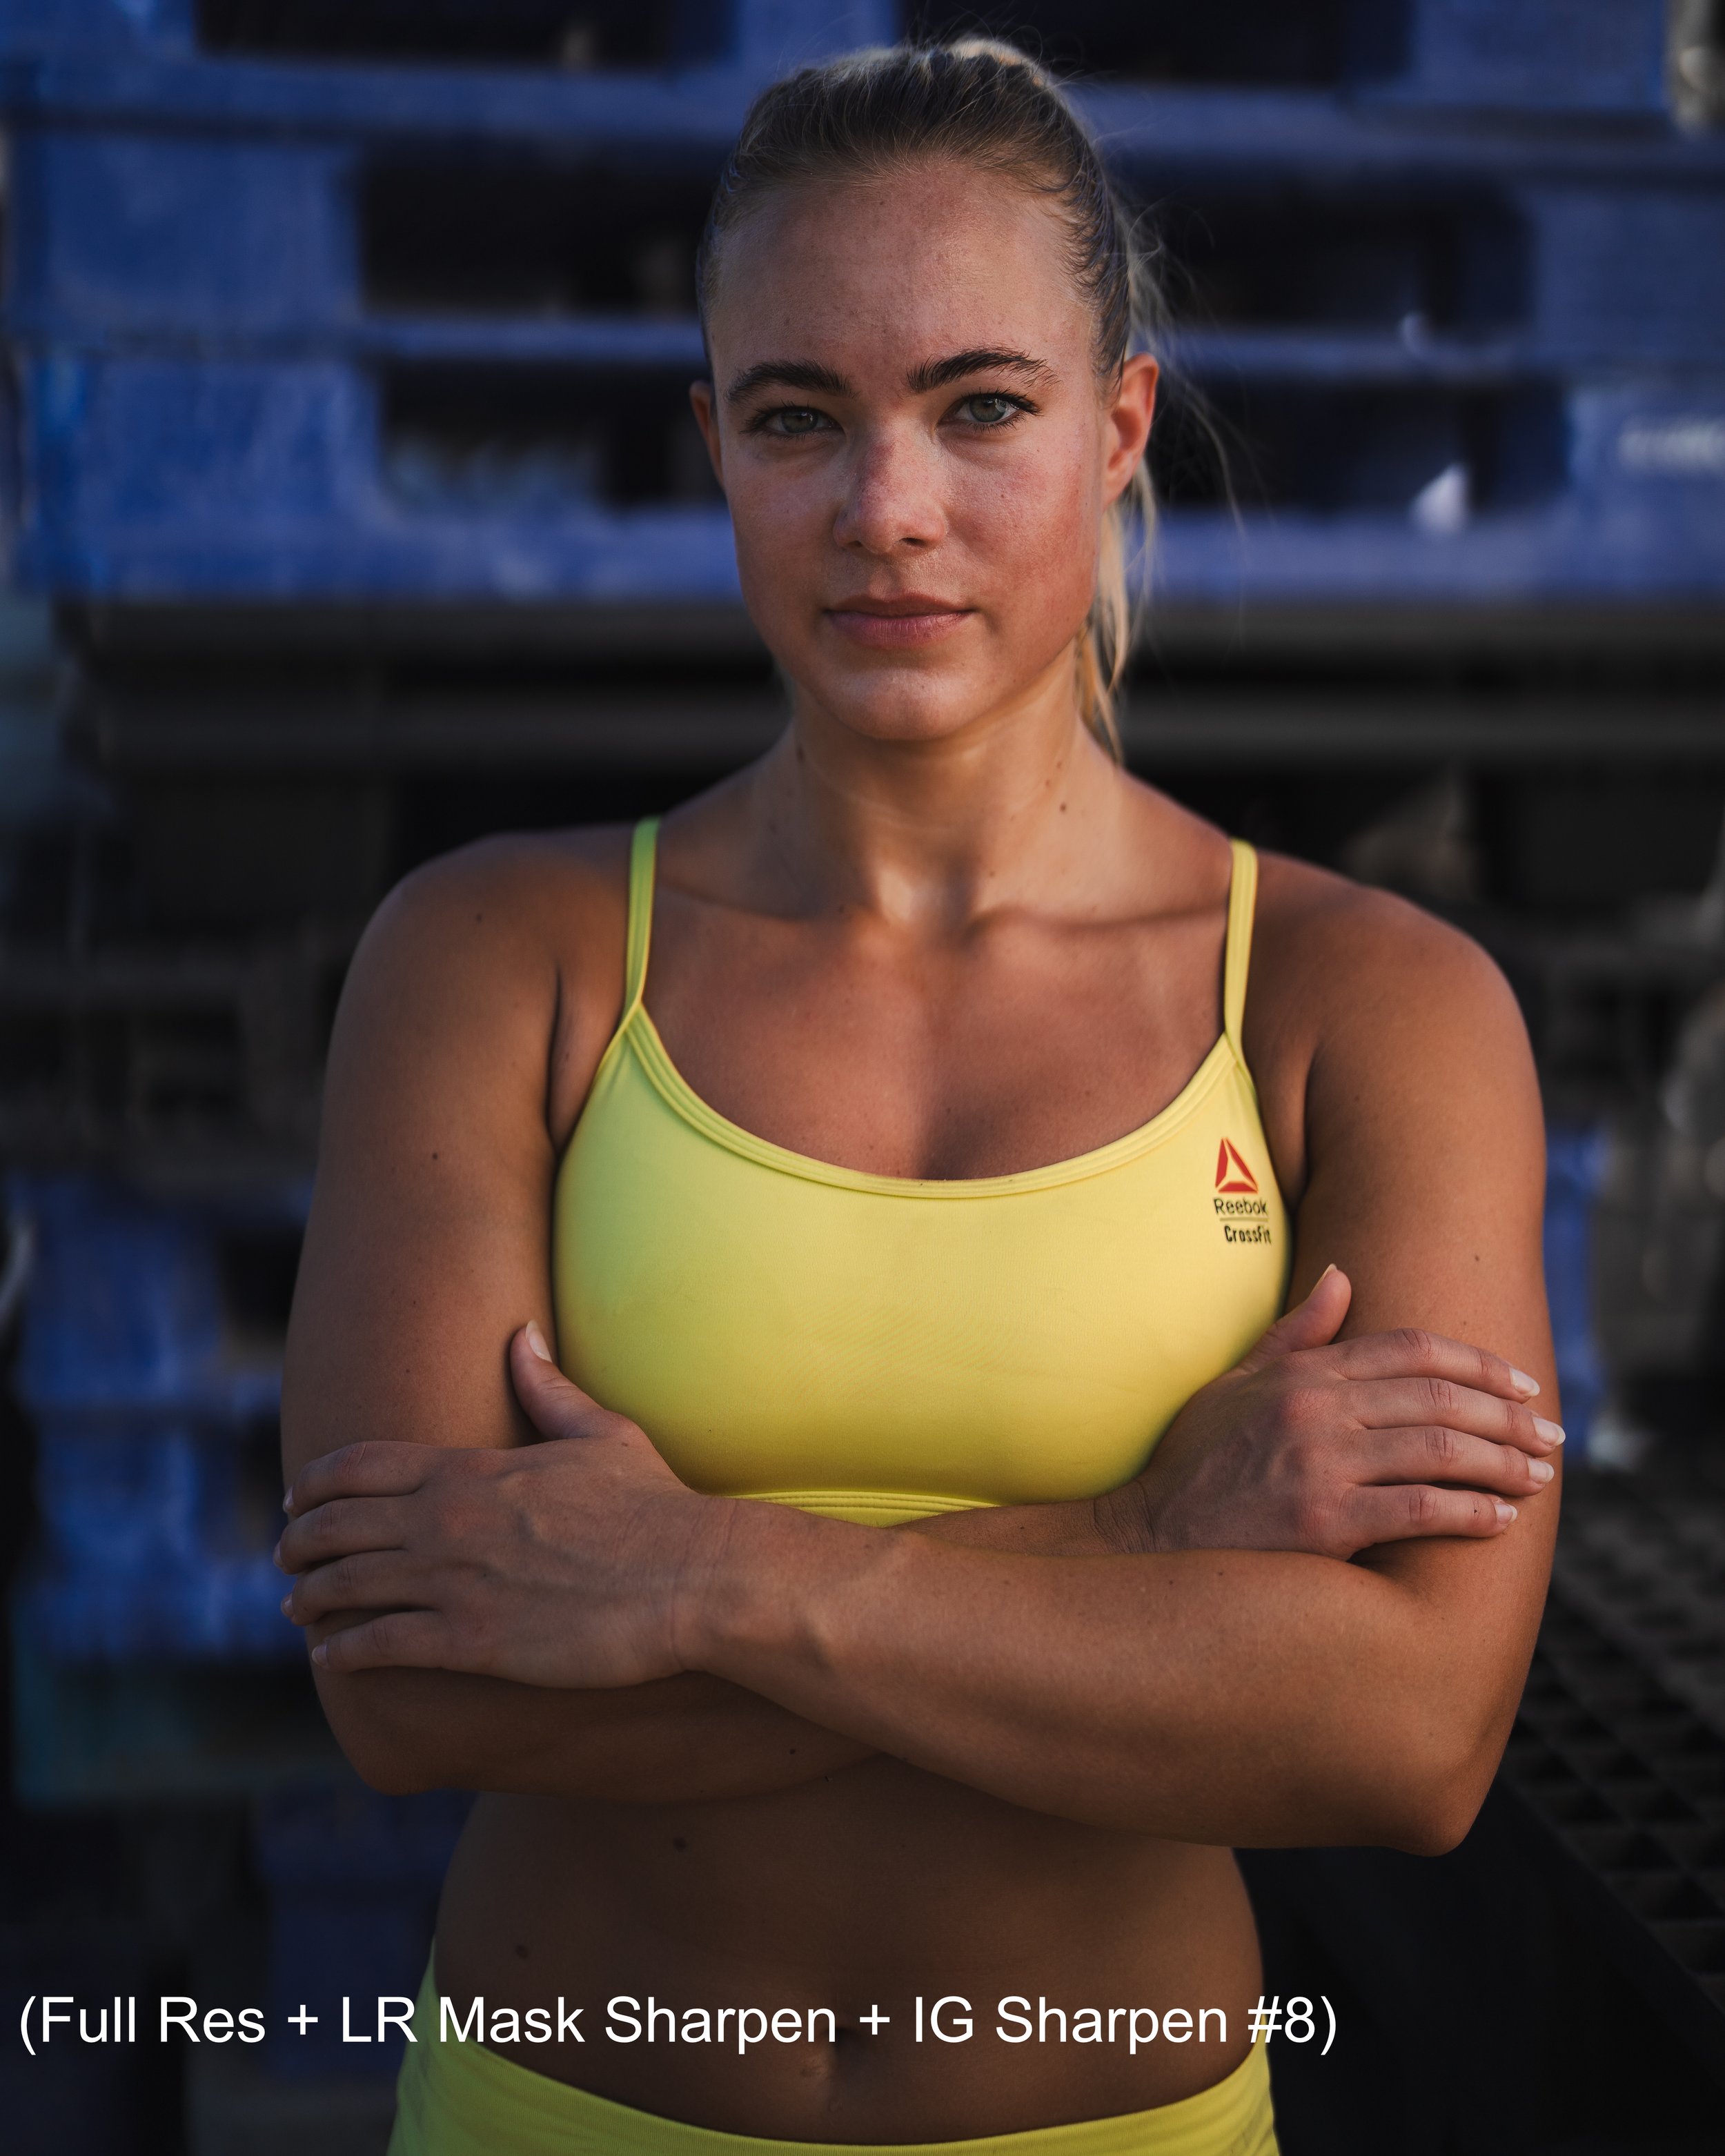
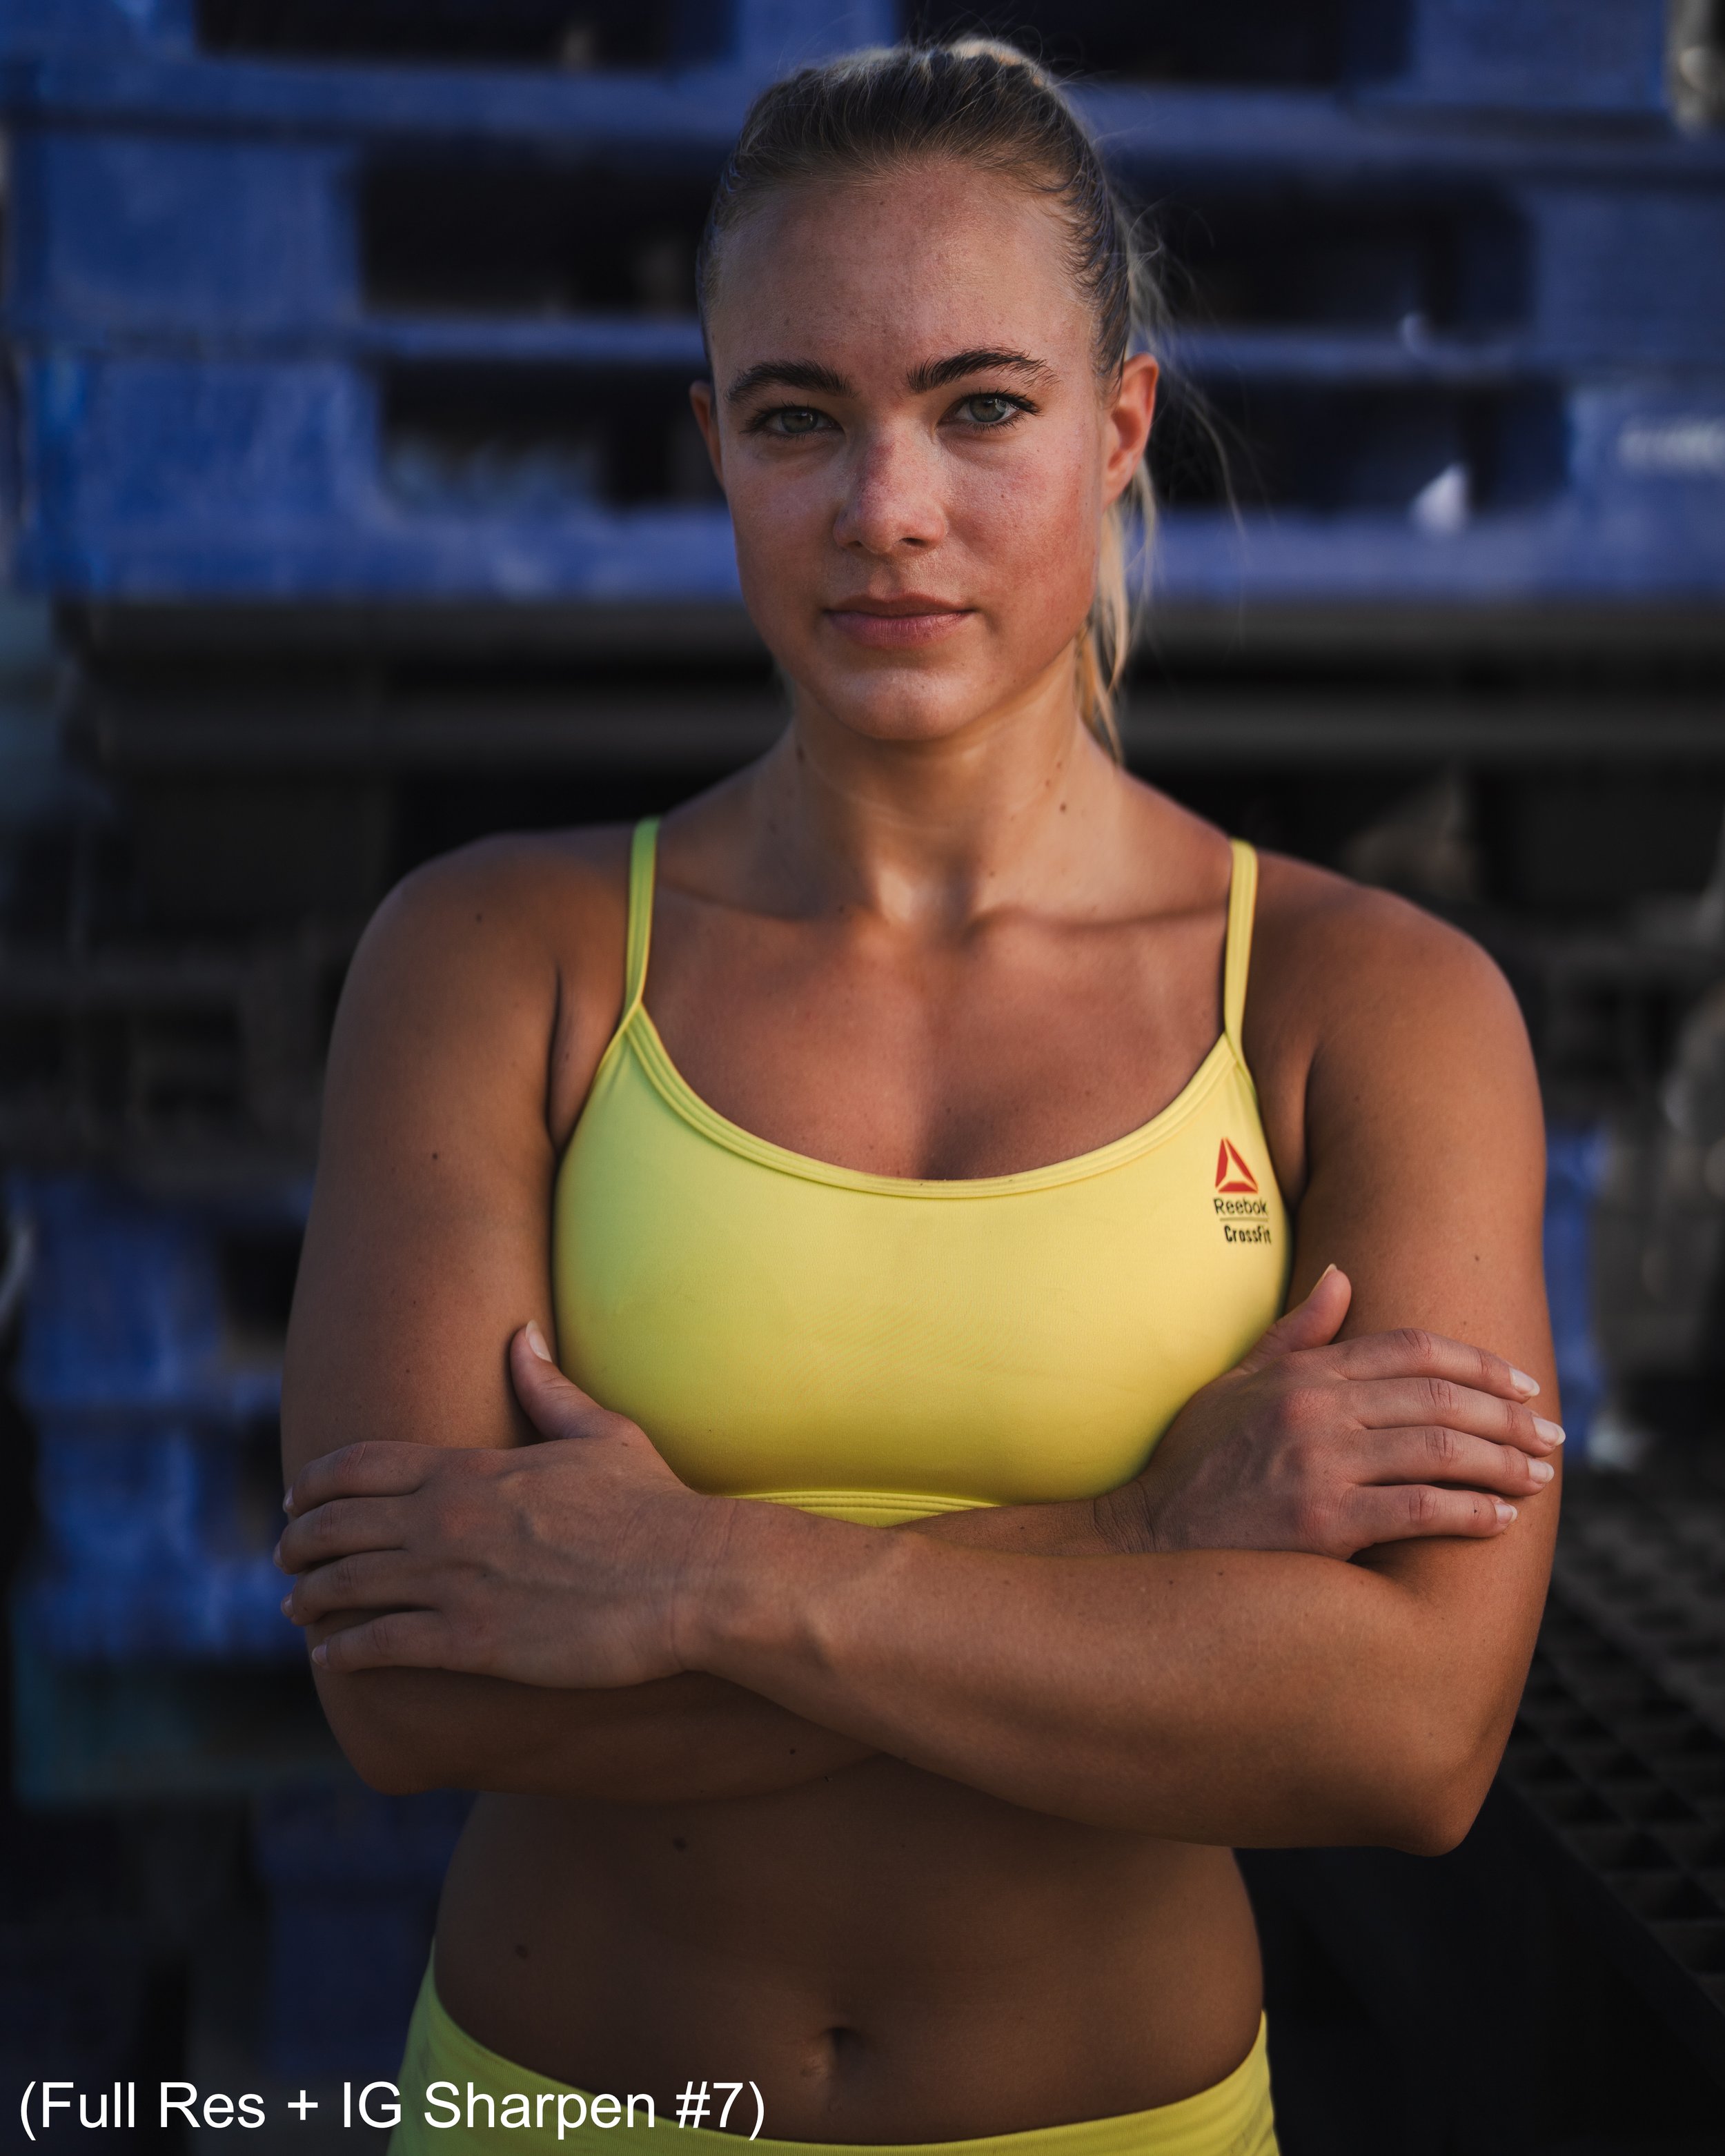
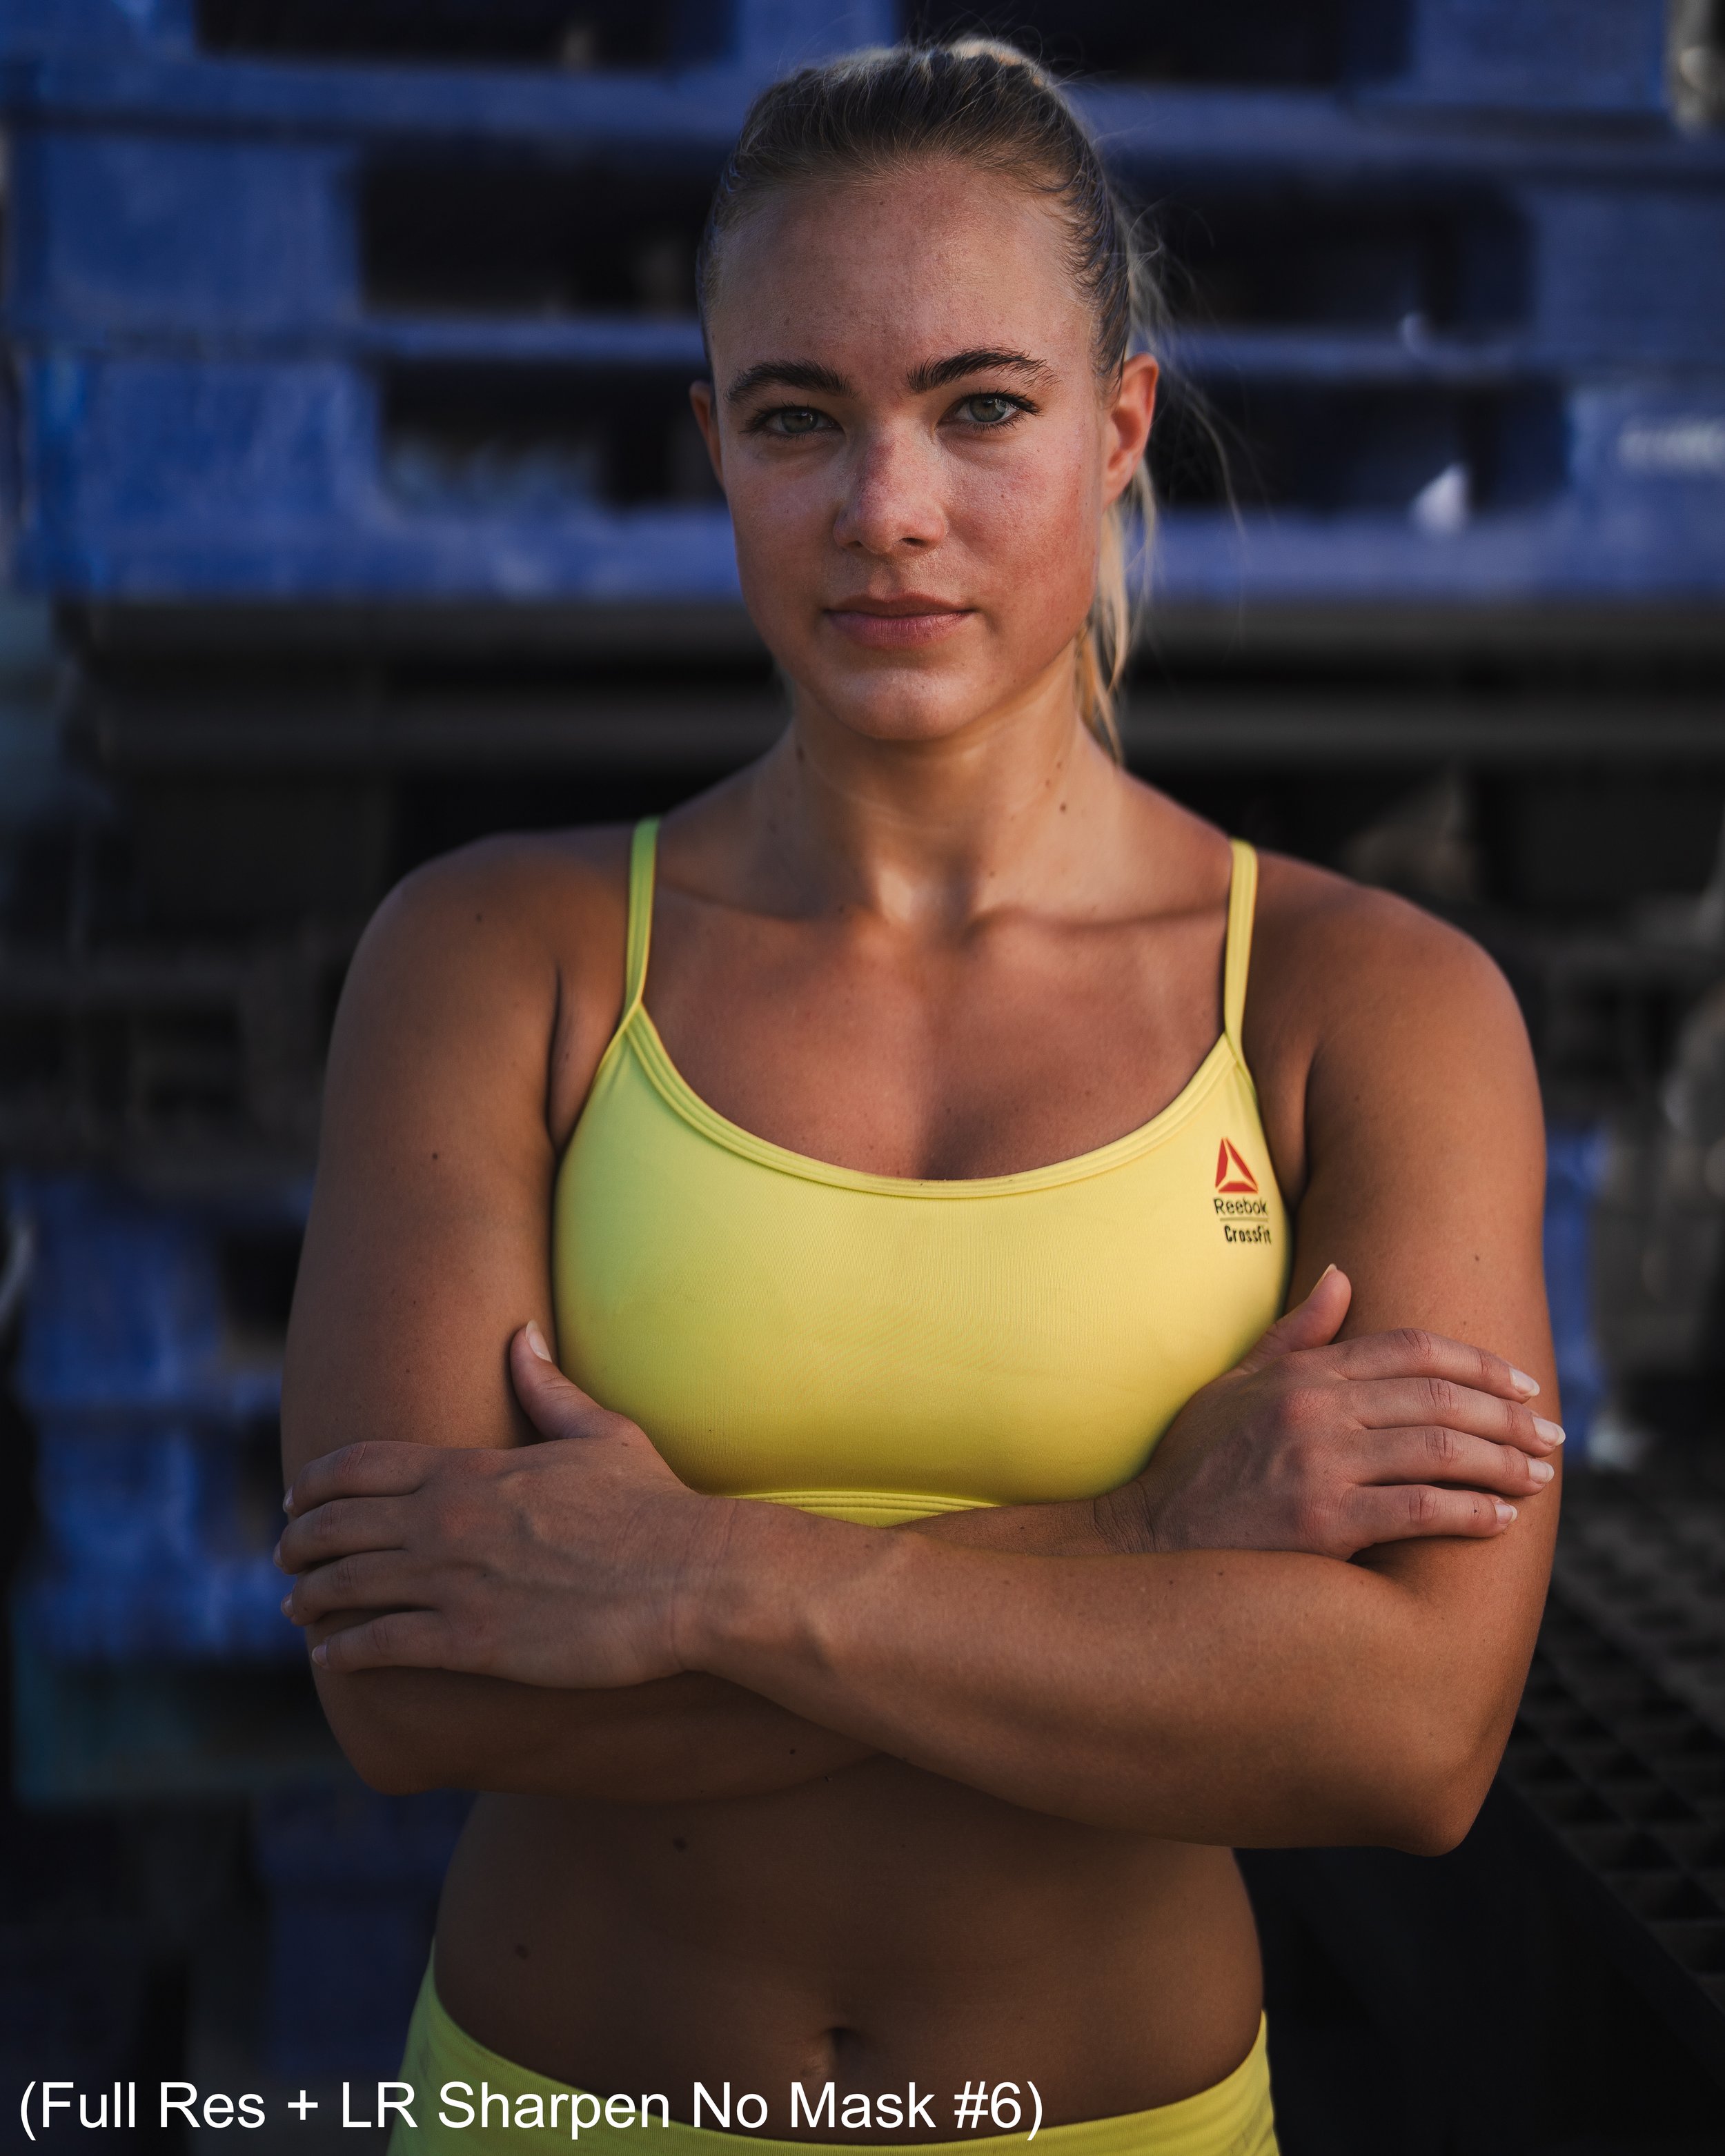
Image 1 - Regular athlete portrait for CrossFit.
Instagram pixel recommendation, JPEG (IG Rec #1)
Instagram pixel recommendation with mask sharpening within Lightroom, JPEG (IG Rec + LR Mask Sharpen #2)
Instagram pixel recommendation with sharpening within Instagram platform, JPEG (IG Rec + IG Sharpen #3)
Full Resolution, no sharpening, JPEG (Full Res #4)
Full Resolution, Sharpening within Lightroom platform with mask, JPEG (Full Res + LR Mask Sharpen #5)
Full Resolution, Sharpening within Lightroom platform without mask, JPEG (Full Res + LR Sharpen No Mask #6)
Full Resolution, Sharpening within Instagram platform, JPEG (Full Res + IG Sharpen #7)
Full Resolution, Sharpening within Lightroom platform with a mask as well as within Instagram platform, JPEG (Full Res + LR Mask Sharpen + IG Sharpen #8)
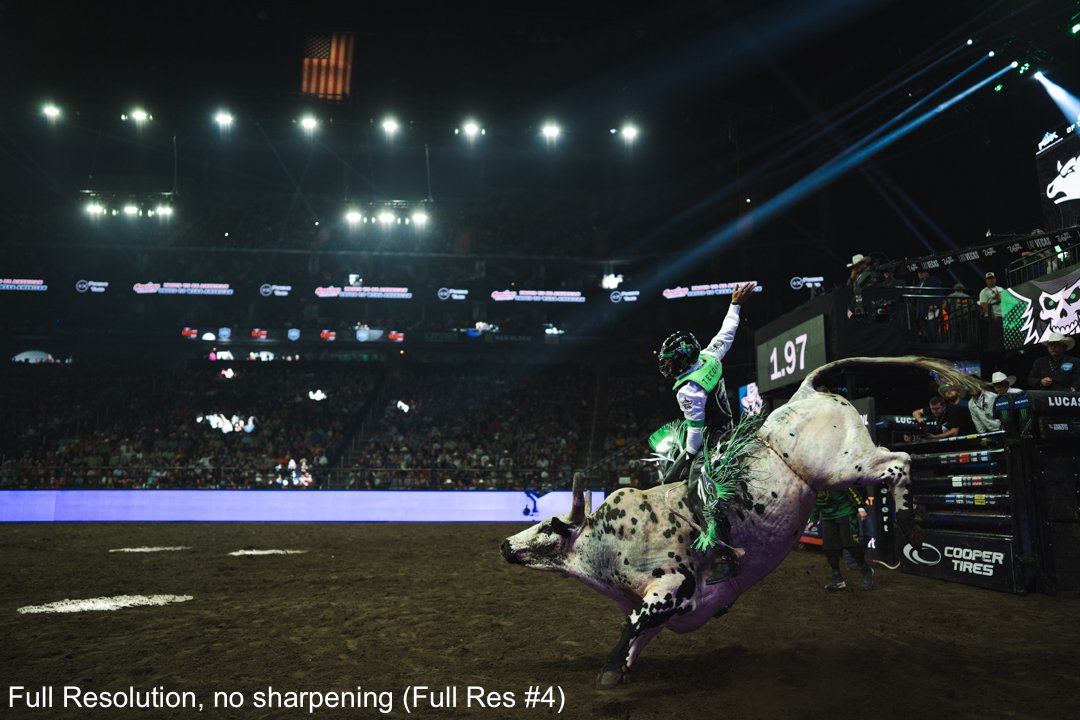
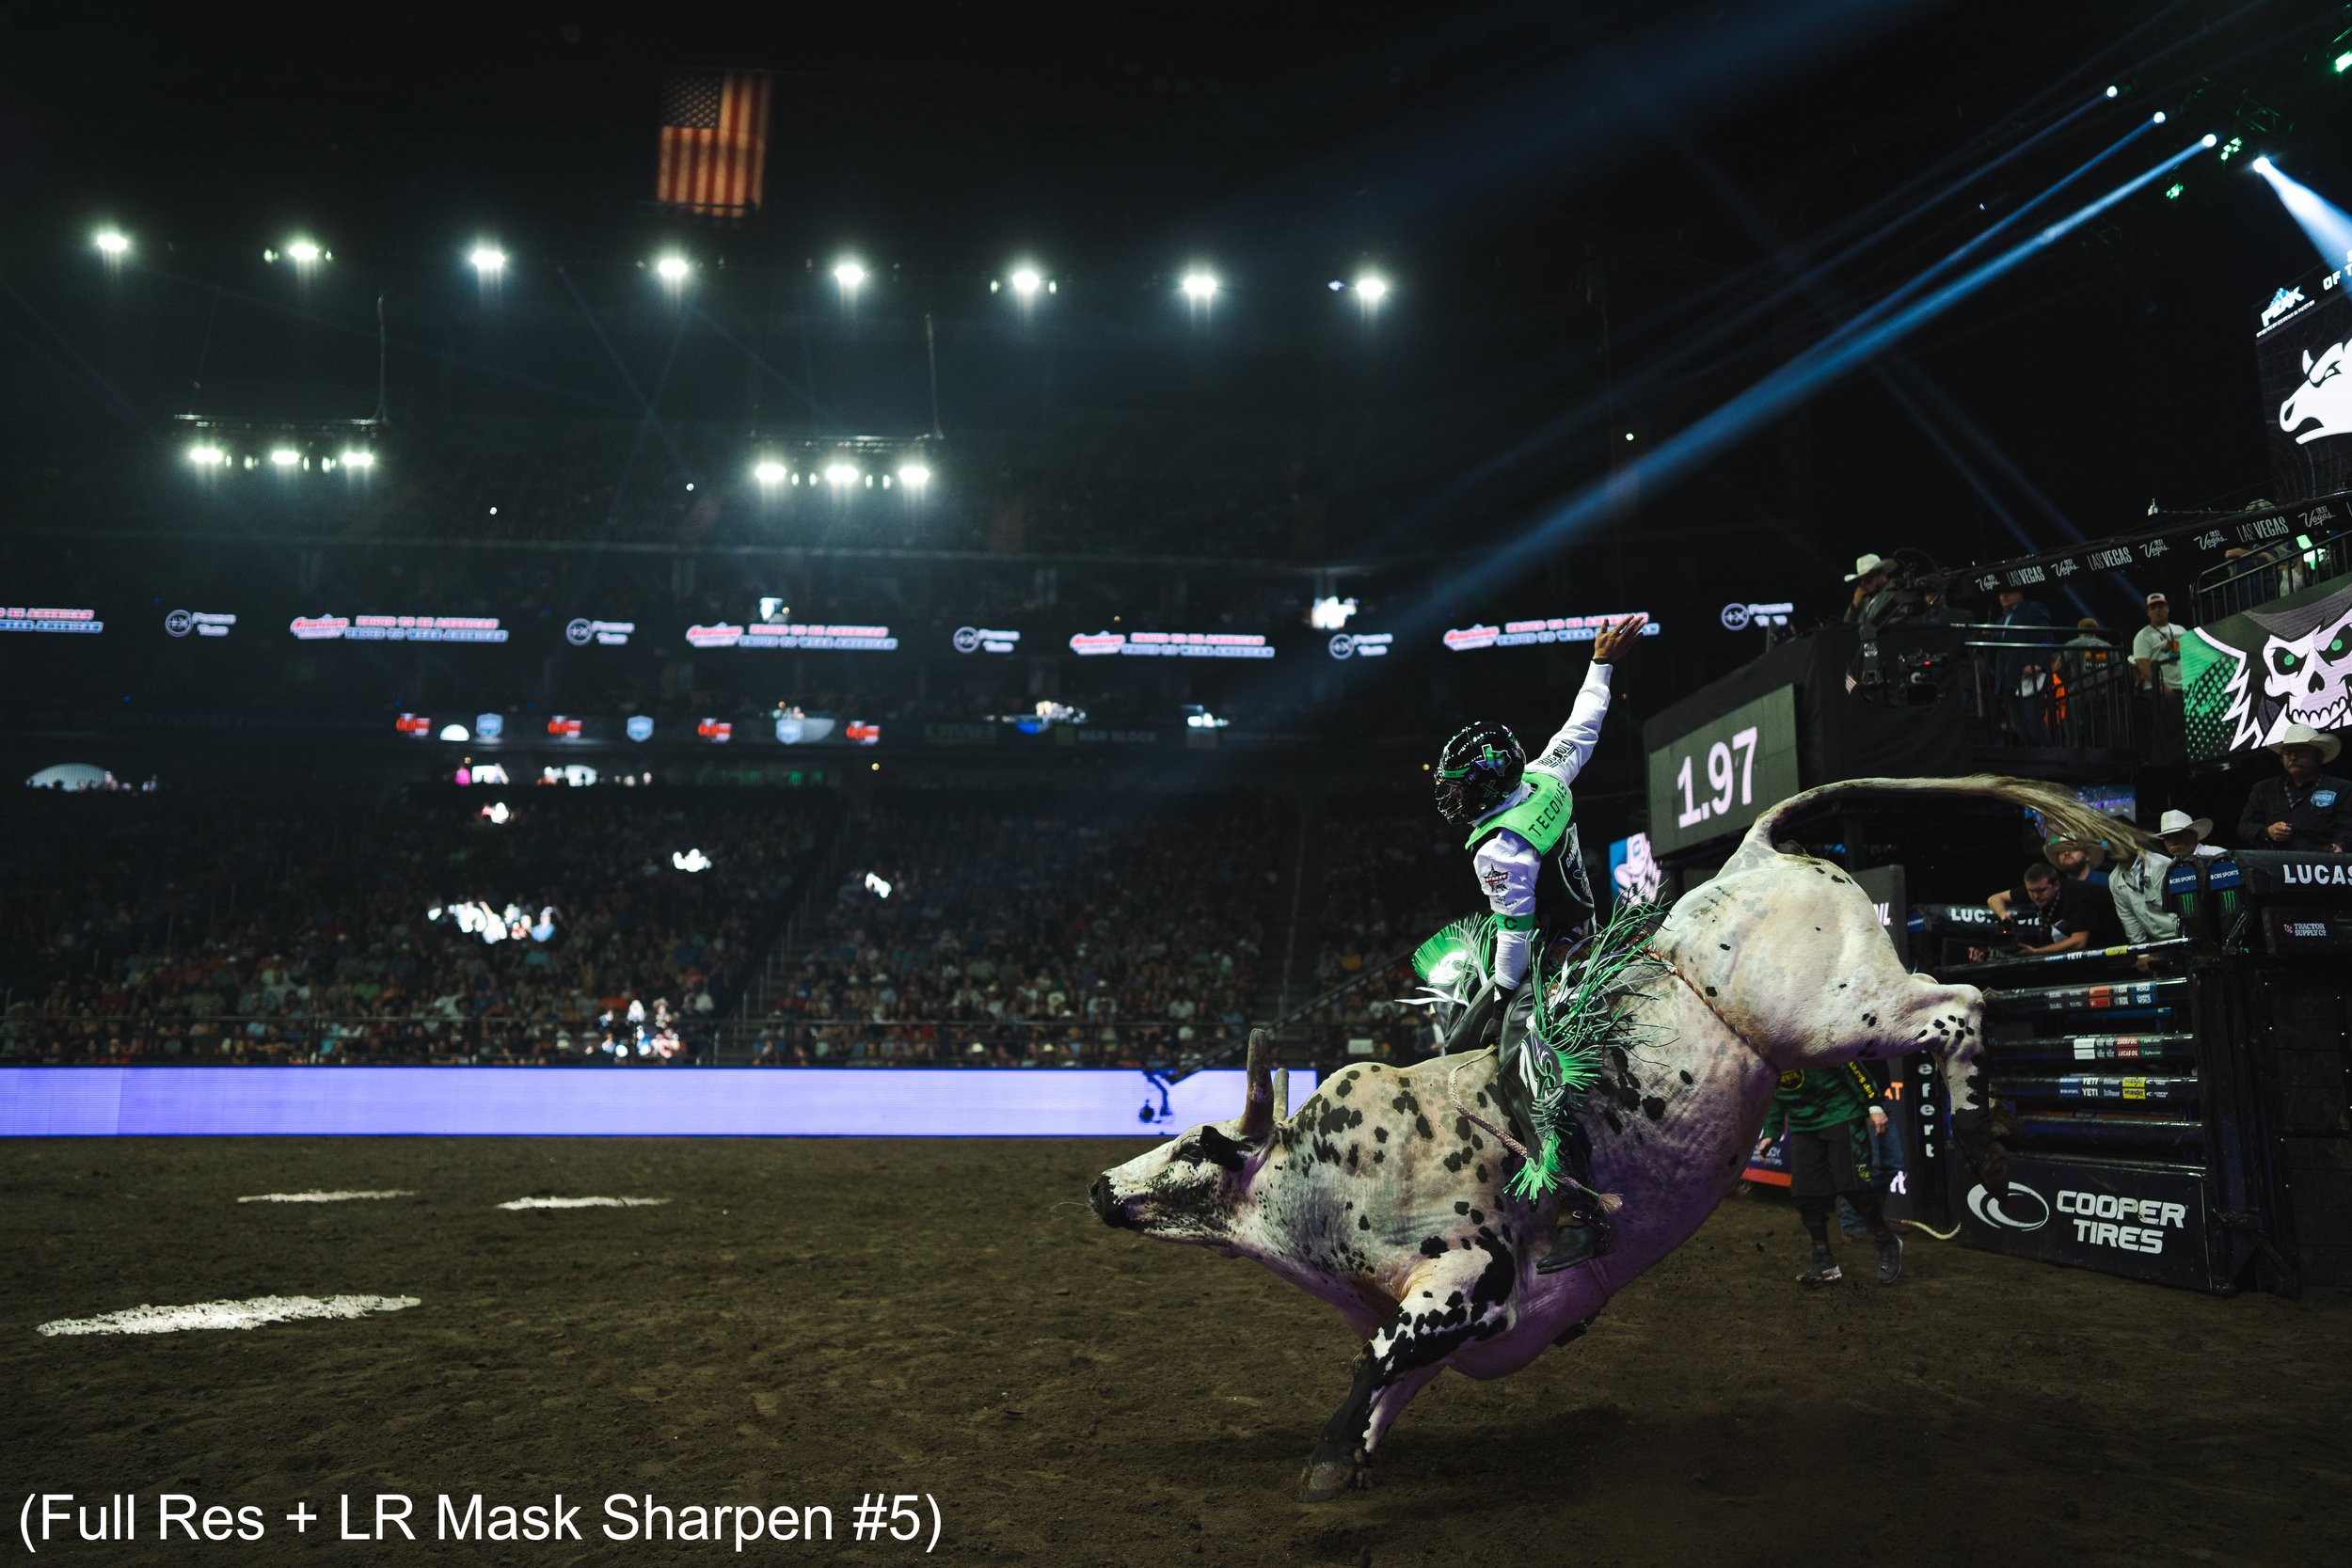
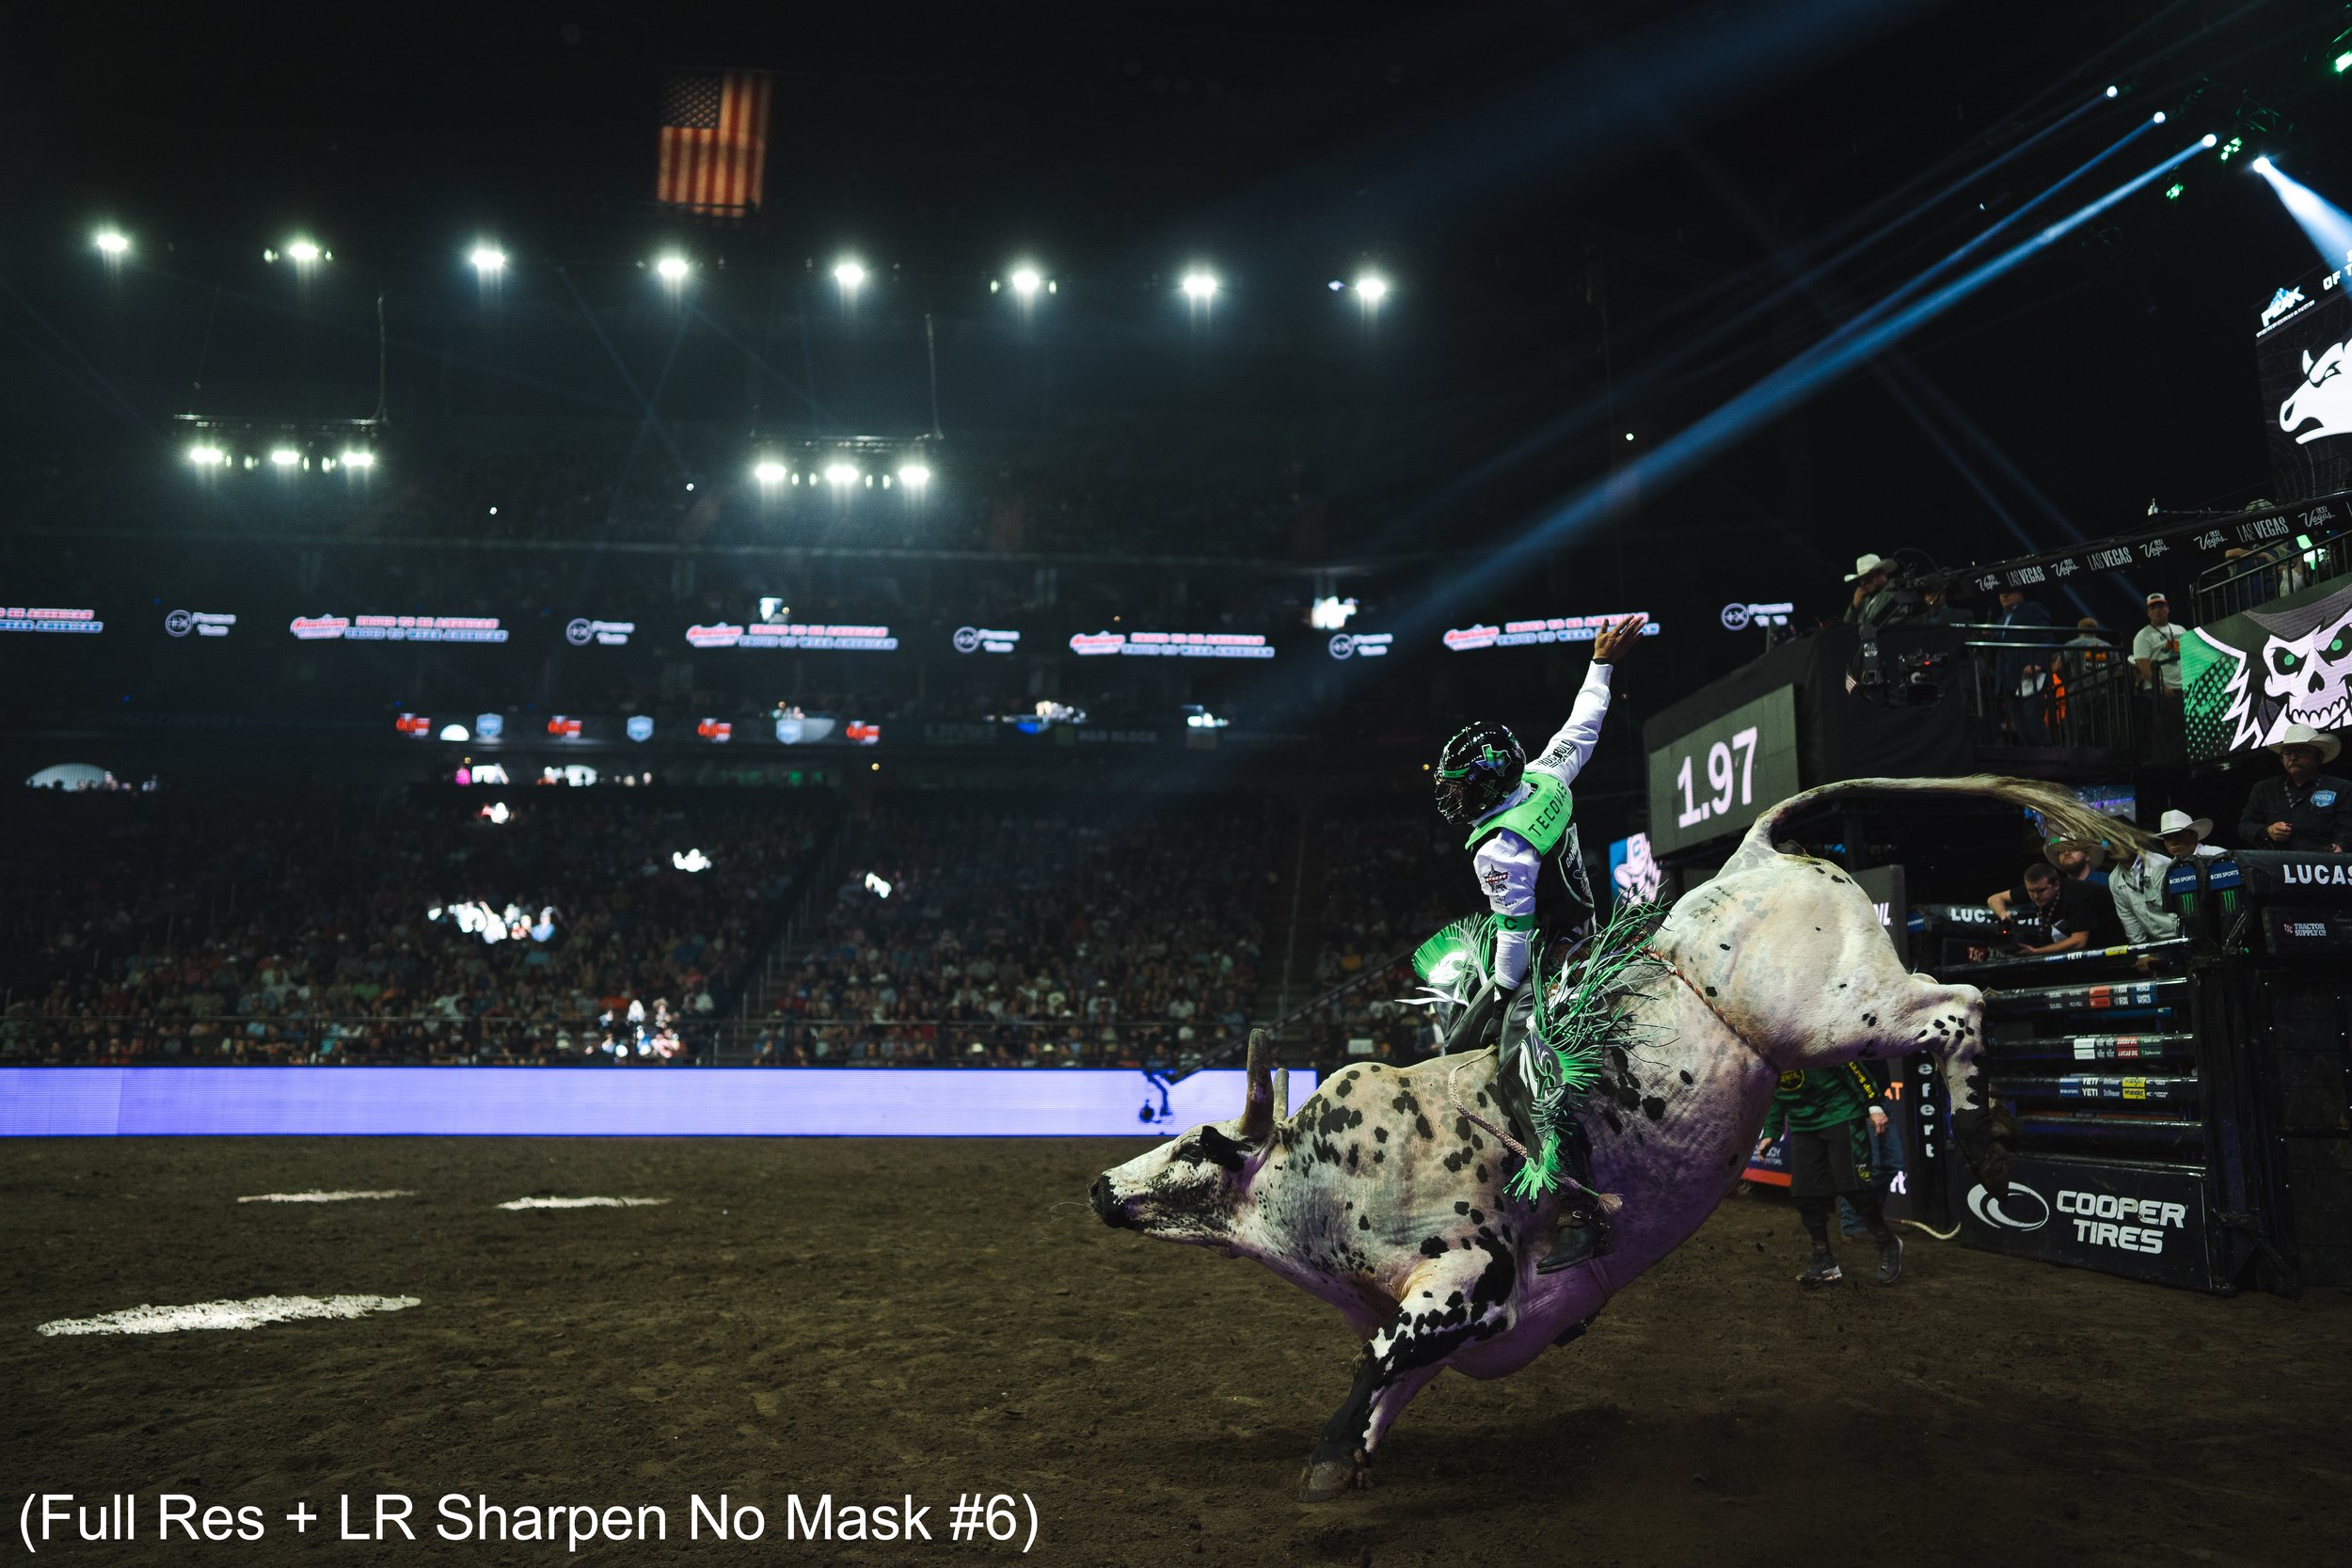
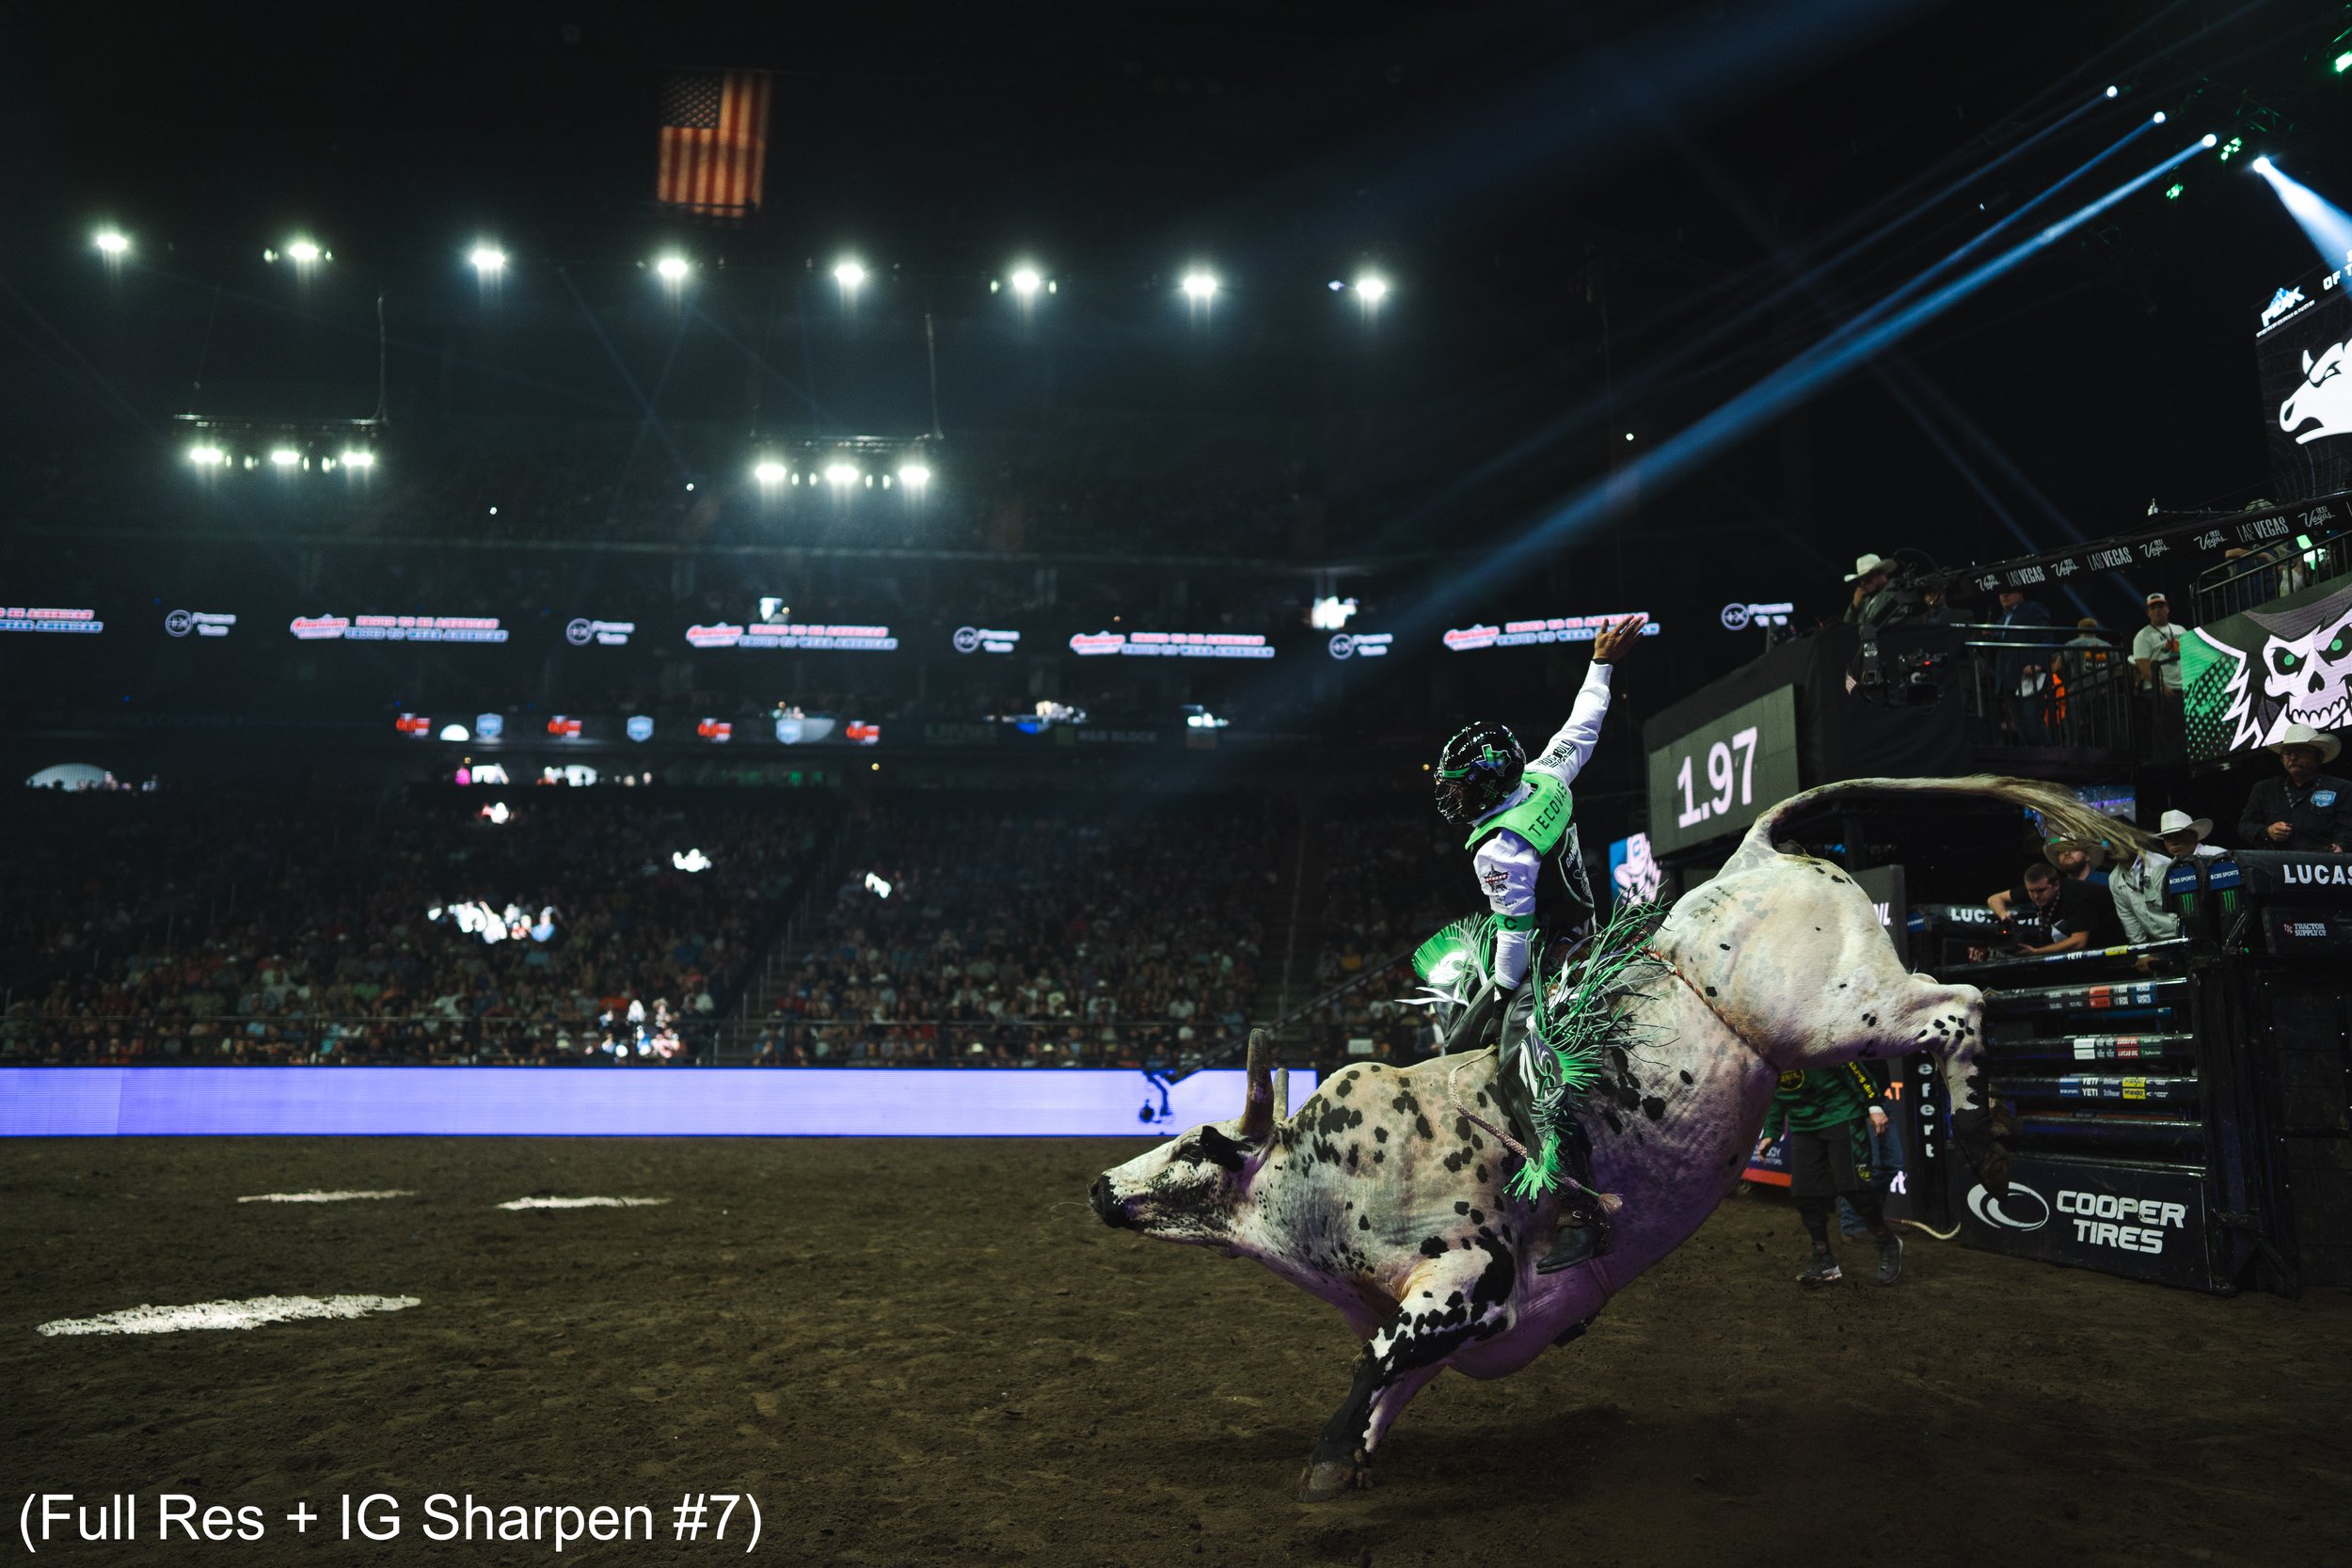
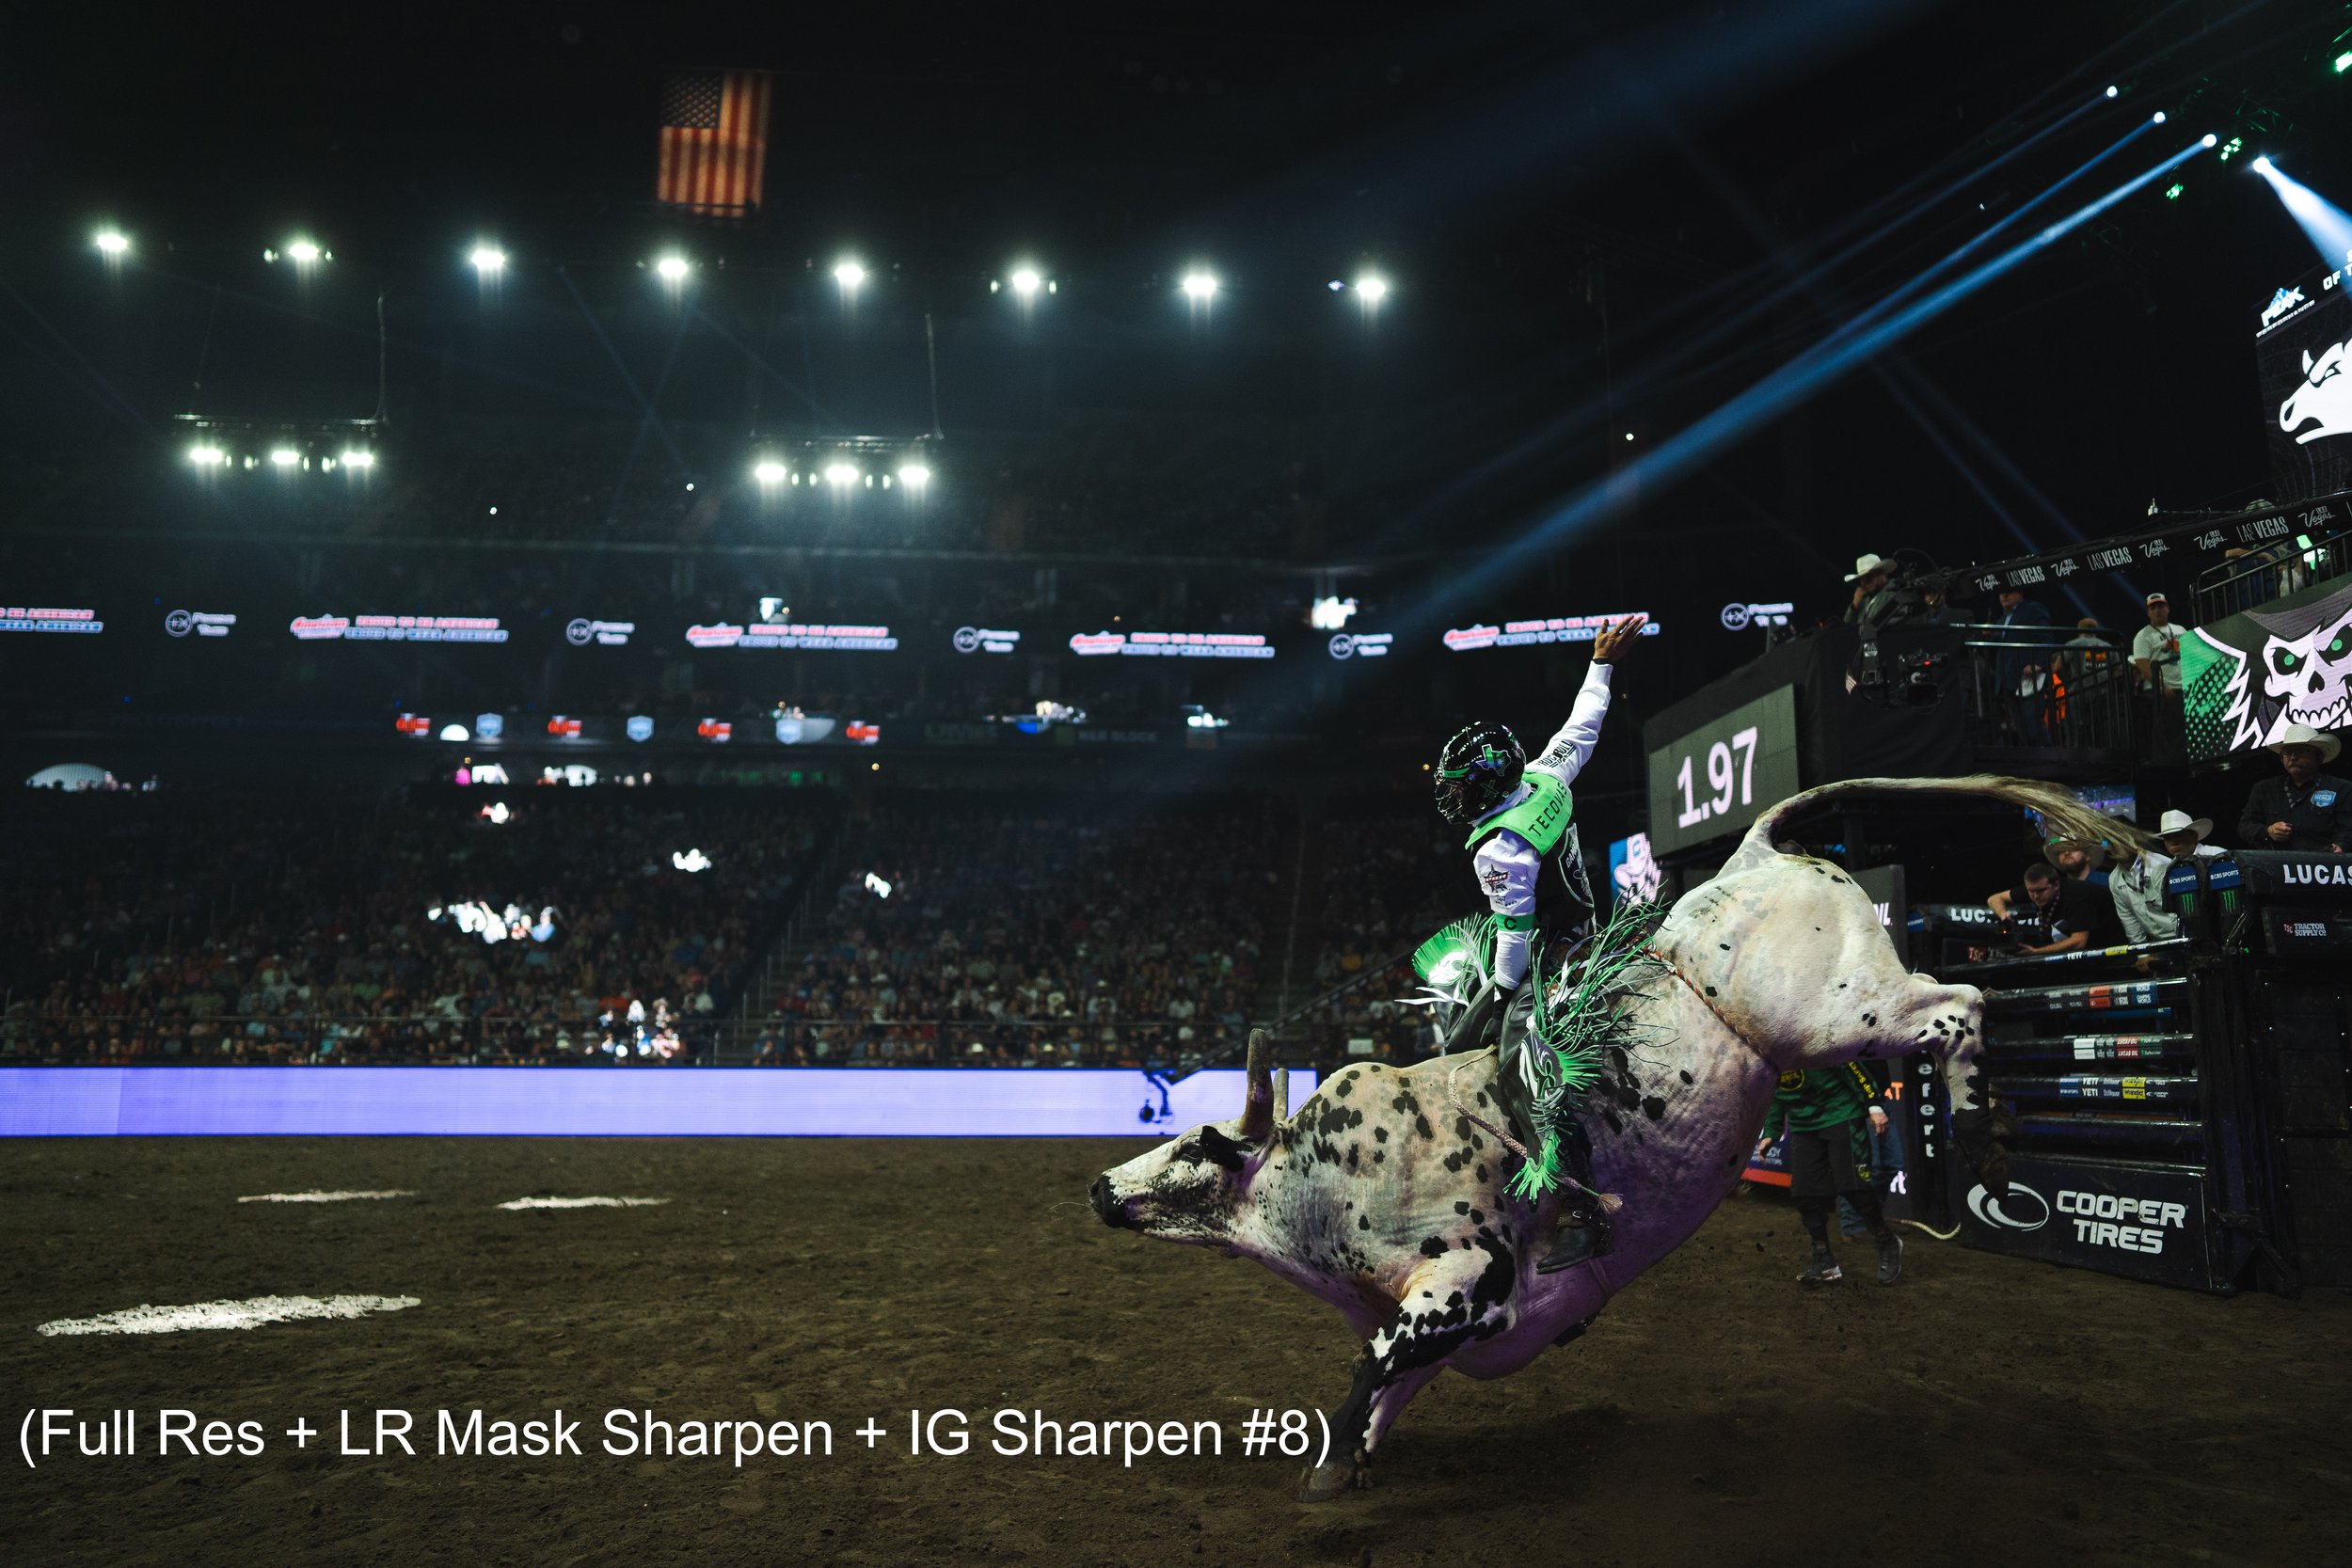
Image 2 - Action shot of athlete riding a bull. Image has more and smaller details.
Instagram pixel recommendation, JPEG (IG Rec #1)
Instagram pixel recommendation with mask sharpening within Lightroom, JPEG (IG Rec + LR Mask Sharpen #2)
Instagram pixel recommendation with sharpening within Instagram platform, JPEG (IG Rec + IG Sharpen #3)
Full Resolution, no sharpening, JPEG (Full Res #4)
Full Resolution, Sharpening within Lightroom platform with mask, JPEG (Full Res + LR Mask Sharpen #5)
Full Resolution, Sharpening within Lightroom platform without mask, JPEG (Full Res + LR Sharpen No Mask #6)
Full Resolution, Sharpening within Instagram platform, JPEG (Full Res + IG Sharpen #7)
Full Resolution, Sharpening within Lightroom platform with a mask as well as within Instagram platform, JPEG (Full Res + LR Mask Sharpen + IG Sharpen #8)
My RECOMMENDED EXPORT & Upload SETTINGS
Before you do anything else, basic blocking and tackling is important. Turn on “Upload at highest quality” under Data usage and media quality within the Instagram app settings. This will default to off if you’ve ever had to reinstall your Instagram app.
Add a sharpening mask from Lightroom and then export in high resolution, sharpening your image around all clean edges, without sharpening the entire image (details below). What I have found is Instagram is going to compress your image no matter what. Unless you import something such low quality that it defeats the purpose of avoiding compression in the first place, you’re going to have to work around it. With the expectation that Instagram will compress our photo, we’re okay with it because we’ve added additional sharpening so it will basically knock it back down to the original image.
Side note: Create a virtual copy for a new version of your image in Lightroom. You can tag it or give it a color label so you know which images are optimized for Instagram.
Add sharpening from within instagram application. Once you’ve uploaded your image to Instagram you have another opportunity to sharpen it further. As we know adding detail to an image globally can cause some issues, particularly with portrait photography, where a person can appear to age because details in their skin become more prevalent and unforgiving. Even with landscapes, things will start to appear very pixelated. If I do any sharpening within Instagram, I keep it minimal (like 5 or less). The good news is you can see the results in real time because the compression has already occurred. The image you see, is the image that will be shared.
Lightroom allows us to circumvent the drawback of global sharpening by using our sharpening tool and the masking feature. After turning our sharpening up to high, hold option on the Mac to see the parts of the image that are being sharpened. As we increase the mask we’re able to target the edges of the subject. By doing this, we can avoid adding too much detail to skin or other unflattering parts of the image, as seen in the example below.
I generally try to increase the mask until I’ve eliminated much of the skin or hair. I’ve noticed sharpening on strands of hair can make the image appear pixelated.
And that’s it! This could also include a 4:5 crop which you can sync across your other Instagram images, slightly adjusting the crop for each.
Export in full resolution and it is officially “optimized for instagram”.
A brief note on ways to measure image quality
Image quality is a subjective concept that depends on the context, purpose, and preferences of the viewer. However, there are some objective metrics that can help measure and compare image quality. One of the problems is they are cost prohibitive for some testing (like mine).
Metrics can be calculated using mathematical formulas, algorithms, or standards, or they can be assessed by humans as well. Some examples I’ve found of image quality metrics are peak signal-to-noise ratio (PSNR), structural similarity index (SSIM), mean opinion score (MOS), and just noticeable difference (JND).
Generally, PSNR has been shown to perform poorly compared to other quality metrics when it comes to estimating the quality of images and particularly videos as perceived by humans. It is better at comparing the quality of noisy images. PSNR compares pixel by pixel instead of the overall structure of an image which is important to the human eye.
The SSIM index is a full reference metric; in other words, the measurement or prediction of image quality is based on an initial uncompressed or distortion-free image as reference.
While it would be cool to run all of these tests on my images and compare the results, again, I’ve found it’s cost prohibitive. A license for an SSIM tool (Imatest) can be over $3,000
Conveniently, I do feel the best way to analyze these images is with the human eye via more of an MOS model. The biggest downside with this model is time to review and in this case we don’t have too many images to make that cost prohibitive. Particularly with how we are altering the original image, creating sharpness before compressing the image, we are aiming for a sort of moving target and attempting to land on an image we like after the compression has been done. Since the original image is no longer what we want (it may be too sharp) it doesn’t really help us to compare our compressed image to the original image.
Testing the export settings and settings within instagram
From the instagram help page titled “Share a Post”, it’s clear they recommend the following:
When you share a photo on Instagram, regardless of whether you're using Instagram for iPhone or Android, we make sure to upload it at the best quality resolution possible (up to a width of 1080 pixels).
When you share a photo that has a width between 320 and 1080 pixels, we keep that photo at its original resolution as long as the photo's aspect ratio is between 1.91:1 and 4:5 (a height between 566 and 1350 pixels with a width of 1080 pixels). If the aspect ratio of your photo isn't supported, it will be cropped to fit a supported ratio. If you share a photo at a lower resolution, we enlarge it to a width of 320 pixels. If you share a photo at a higher resolution, we size it down to a width of 1080 pixels.
If you want to make sure that your photo is shared with a width of 1080 pixels:
Download the most recent version of the Instagram app.
Upload a photo with a width of at least 1080 pixels with an aspect ratio between 1.91:1 and 4:5.
Make sure you're using a phone with a high-quality camera as different phones have cameras of varying qualities.
So let’s try this and test the results.
Export with Instagram pixel recommendation, JPEG
Export several versions (watermarks on images below) of 4:5 with 1080 pixels width and 1350 pixels height. Add to photos app. Share to Instagram test account from iPhone. Download using Toolzu tool. And adjust export settings for landscape image to height of 720 pixels and repeat all iterations.
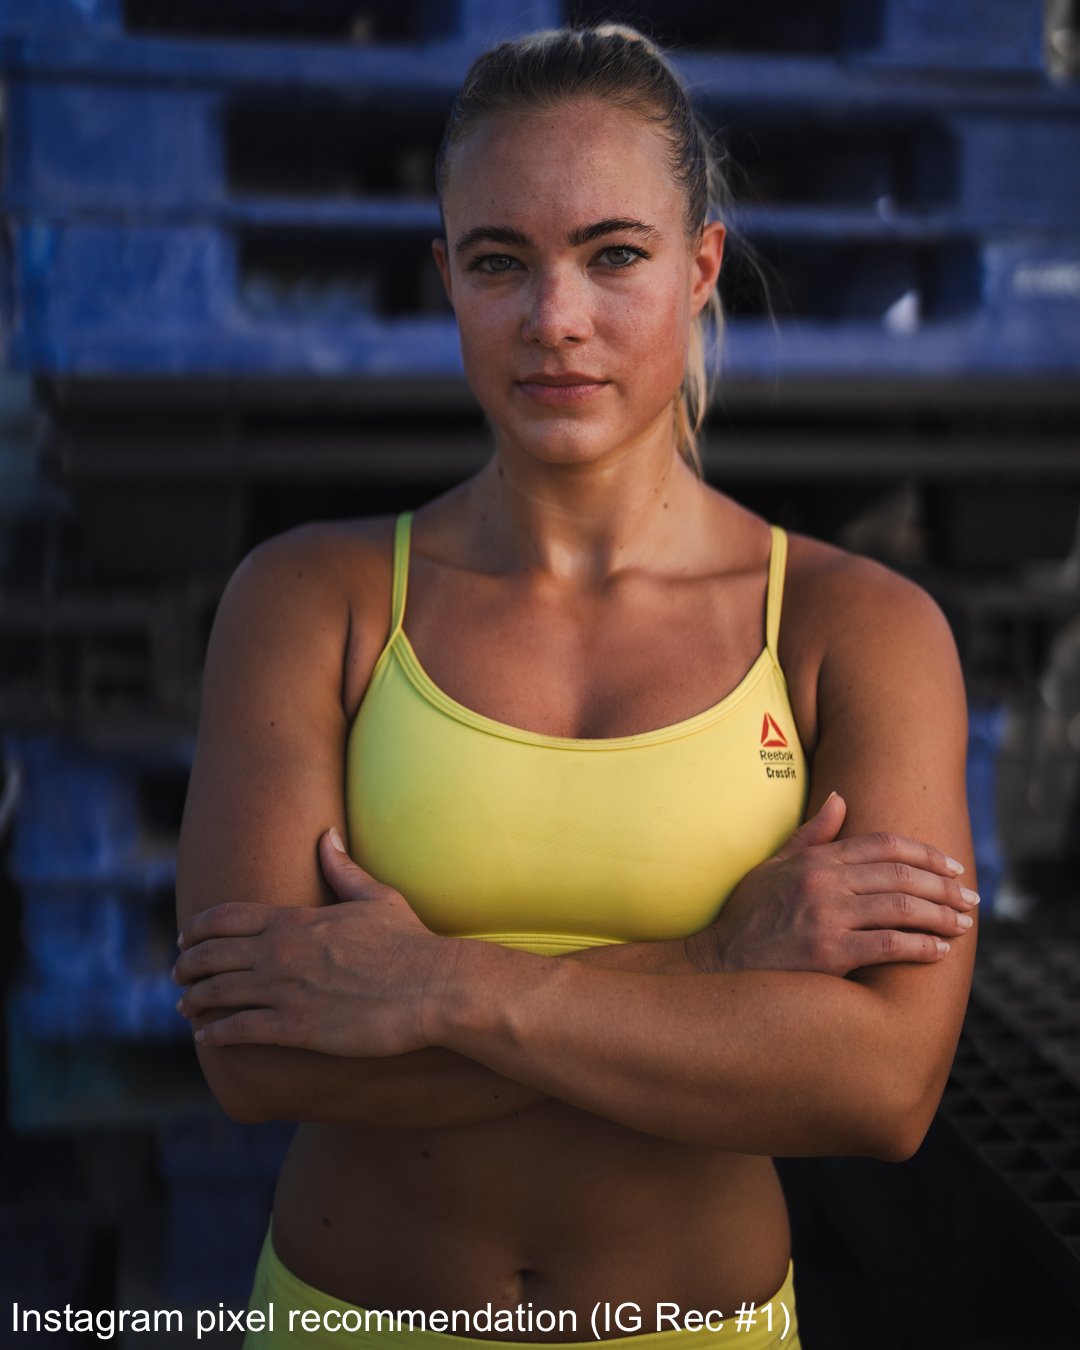
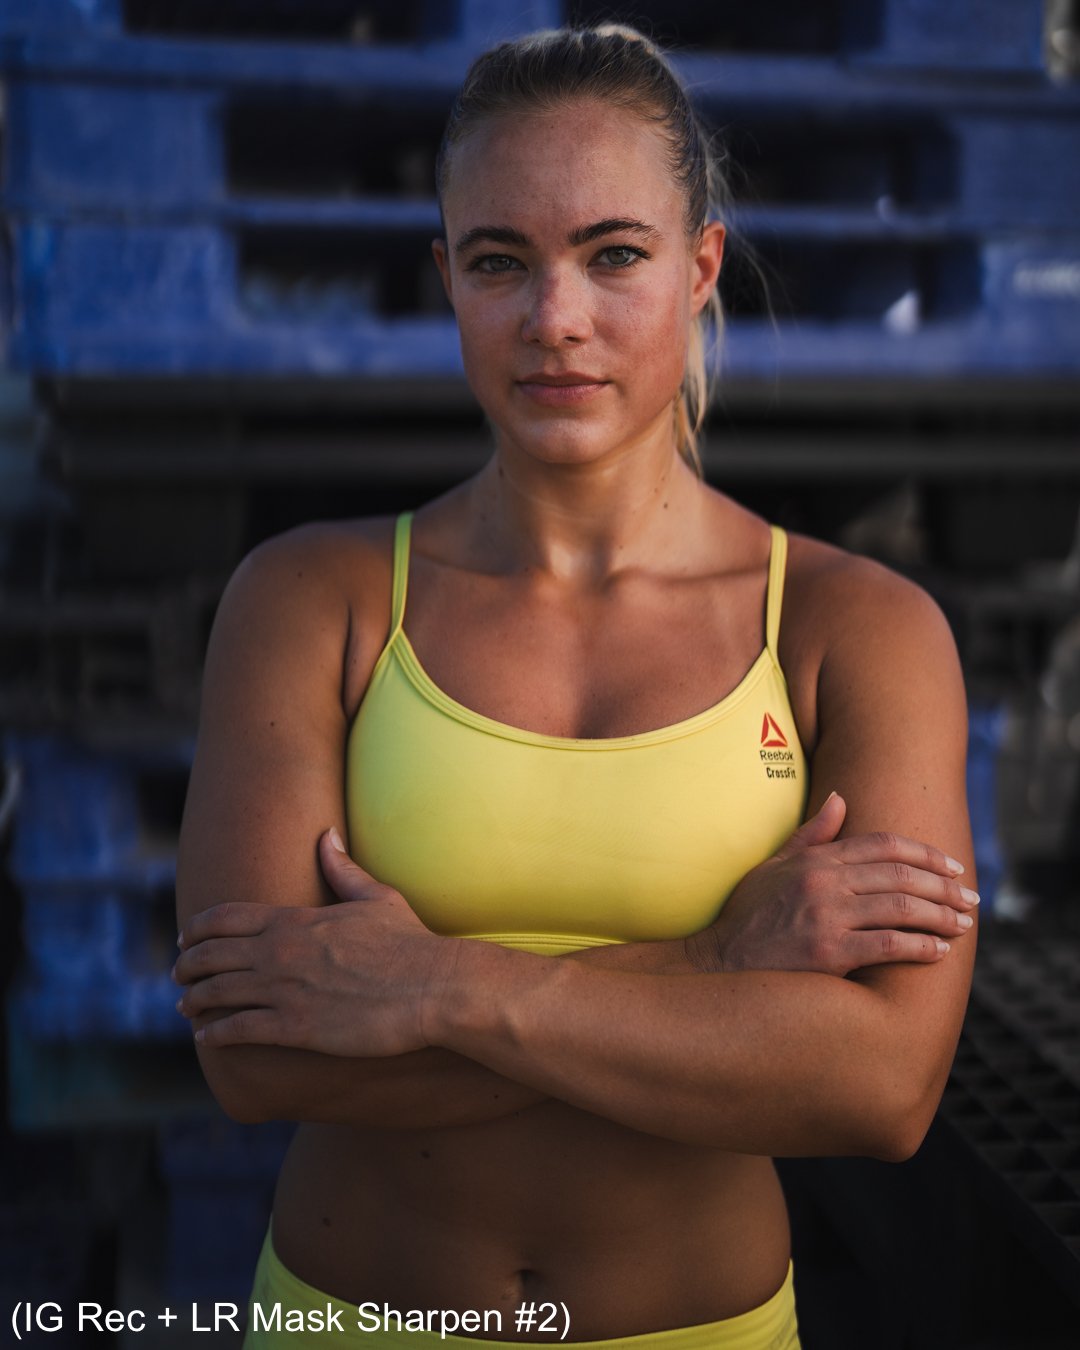
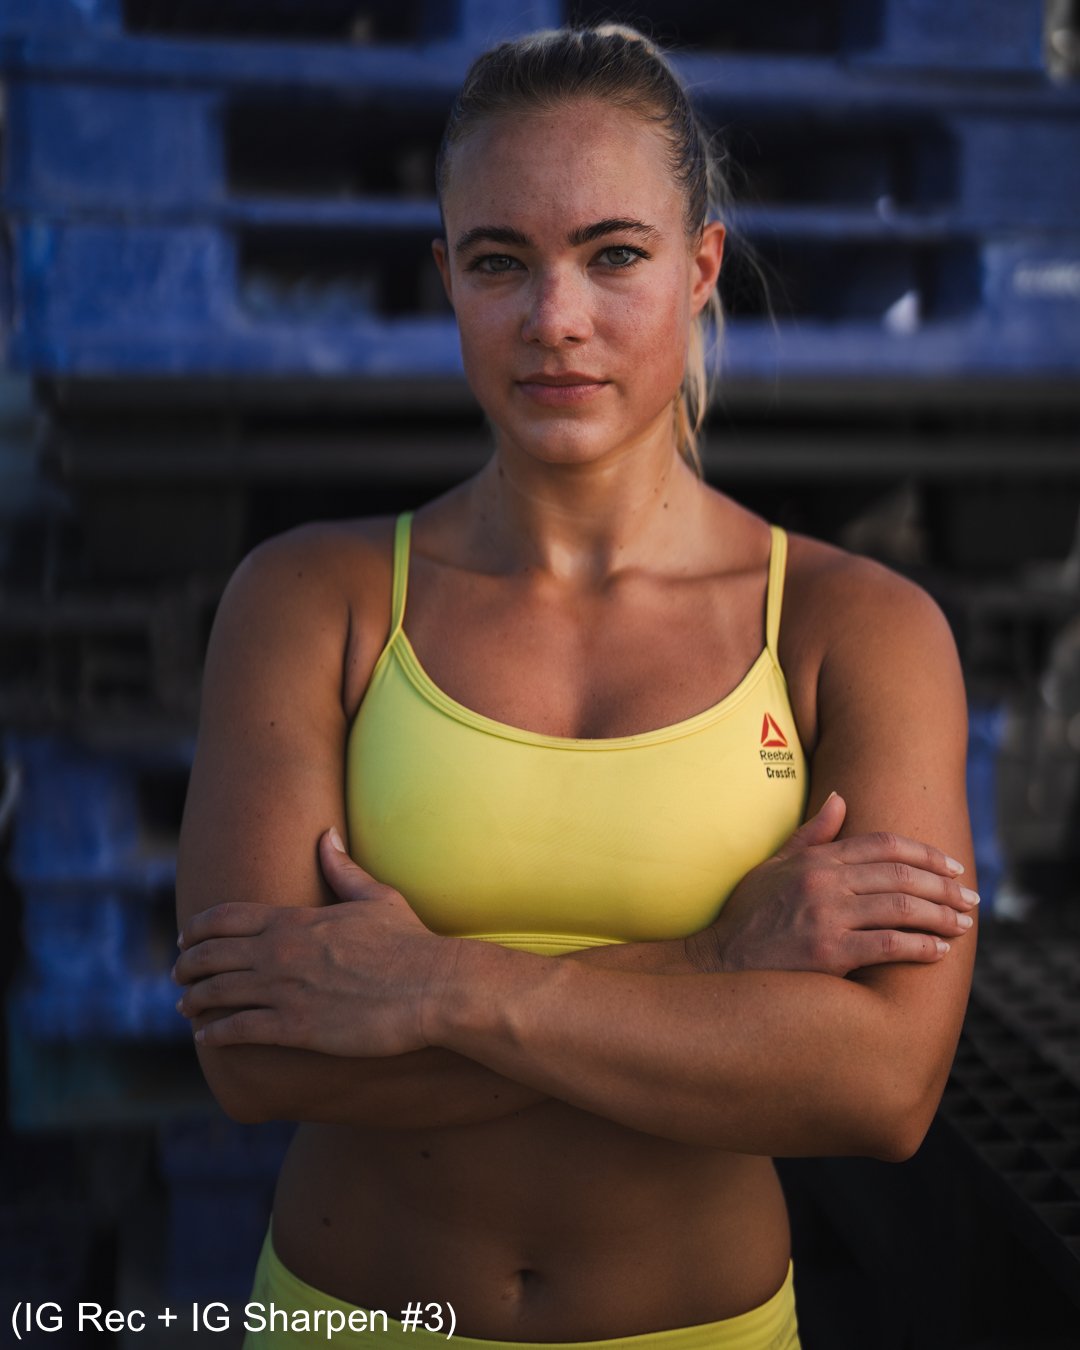
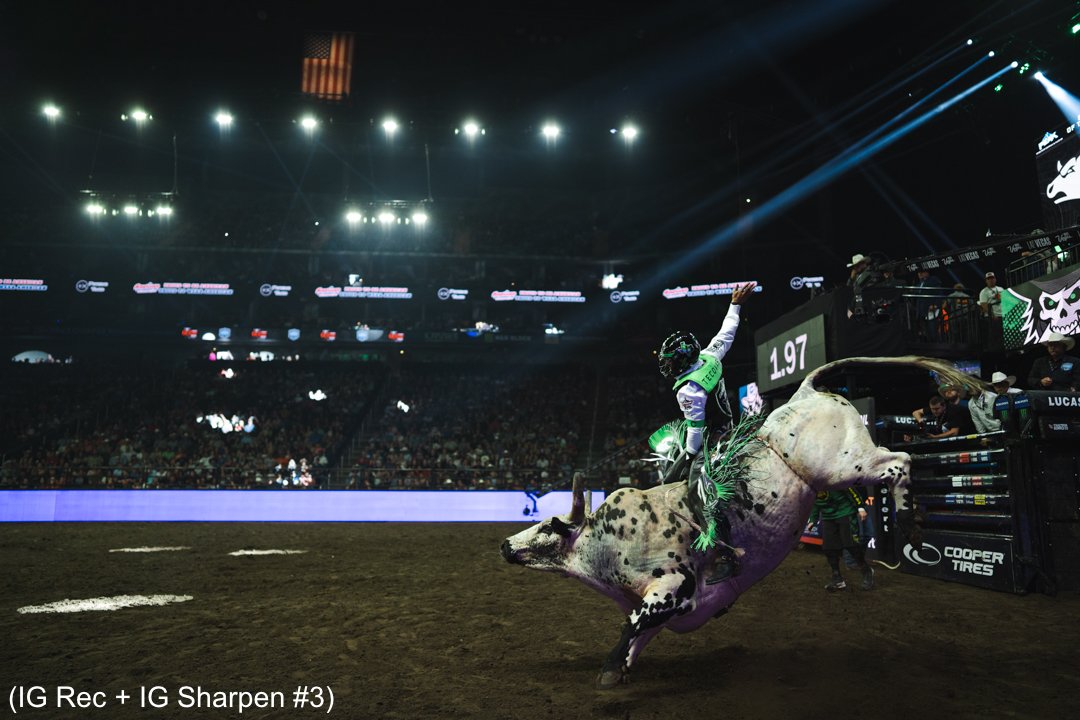
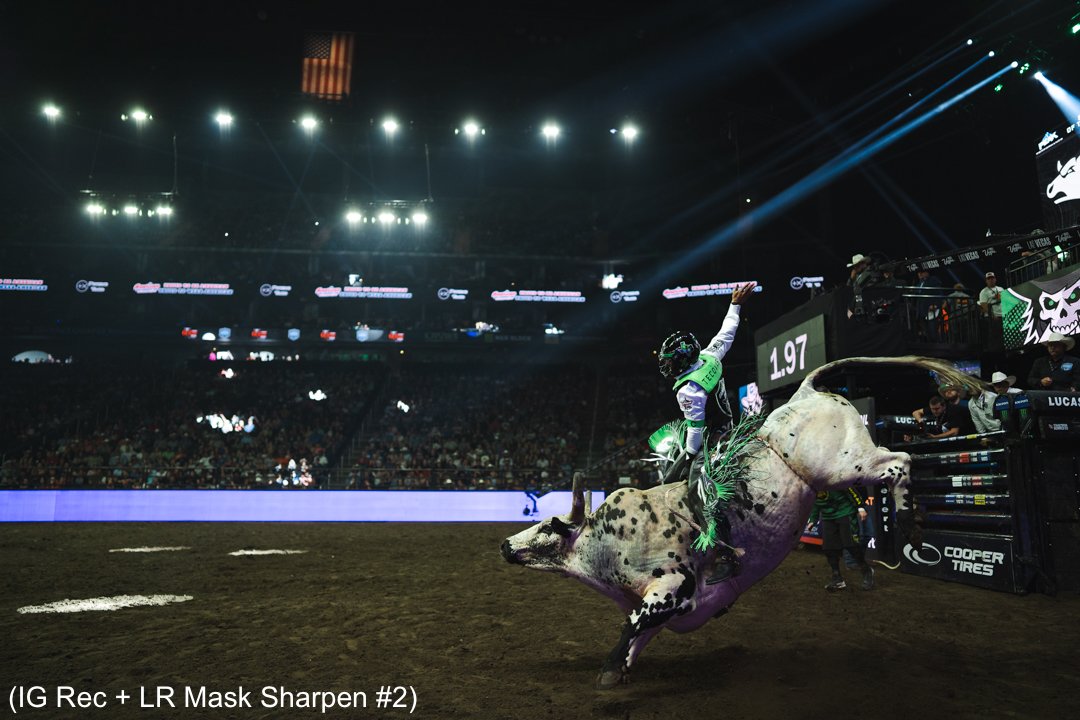
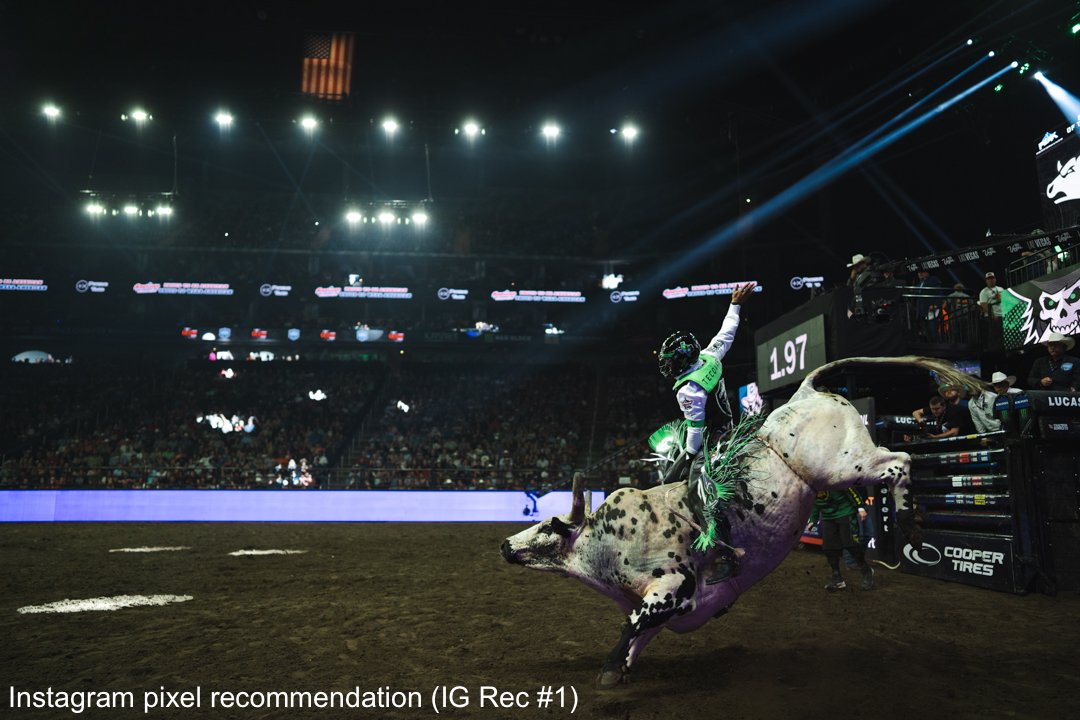
I think the landscape image of the athlete riding a bull with smaller details shows how incorrect these settings can be. The image has lost a ton of detail! It’s not as evident in the larger subject in the portrait image of Chloe, CrossFit Athlete.
Let’s move onto the next variable to test.
Export in High Resolution out of Lightroom, JPEG
Export in high resolution. Add to photos app. Share to Instagram test account from iPhone. Download using Toolzu tool. The image is already a much crisper version than the previous as you can see in the samples below.
Export with sharpening added to the edges of subject with a mask. (Same export settings as previous but with adjustments to image) Default full resolution image out of Lightroom. Share to instagram test account. Again, the image is much crisper and particularly around some of the detail in edges of the hair, hands, and other portions of Chloe within the depth of field.
Export with sharpening added to the edges of subject with a mask as well as native sharpening tools within Instagram application. (Same export settings as previous but adding more sharpening)
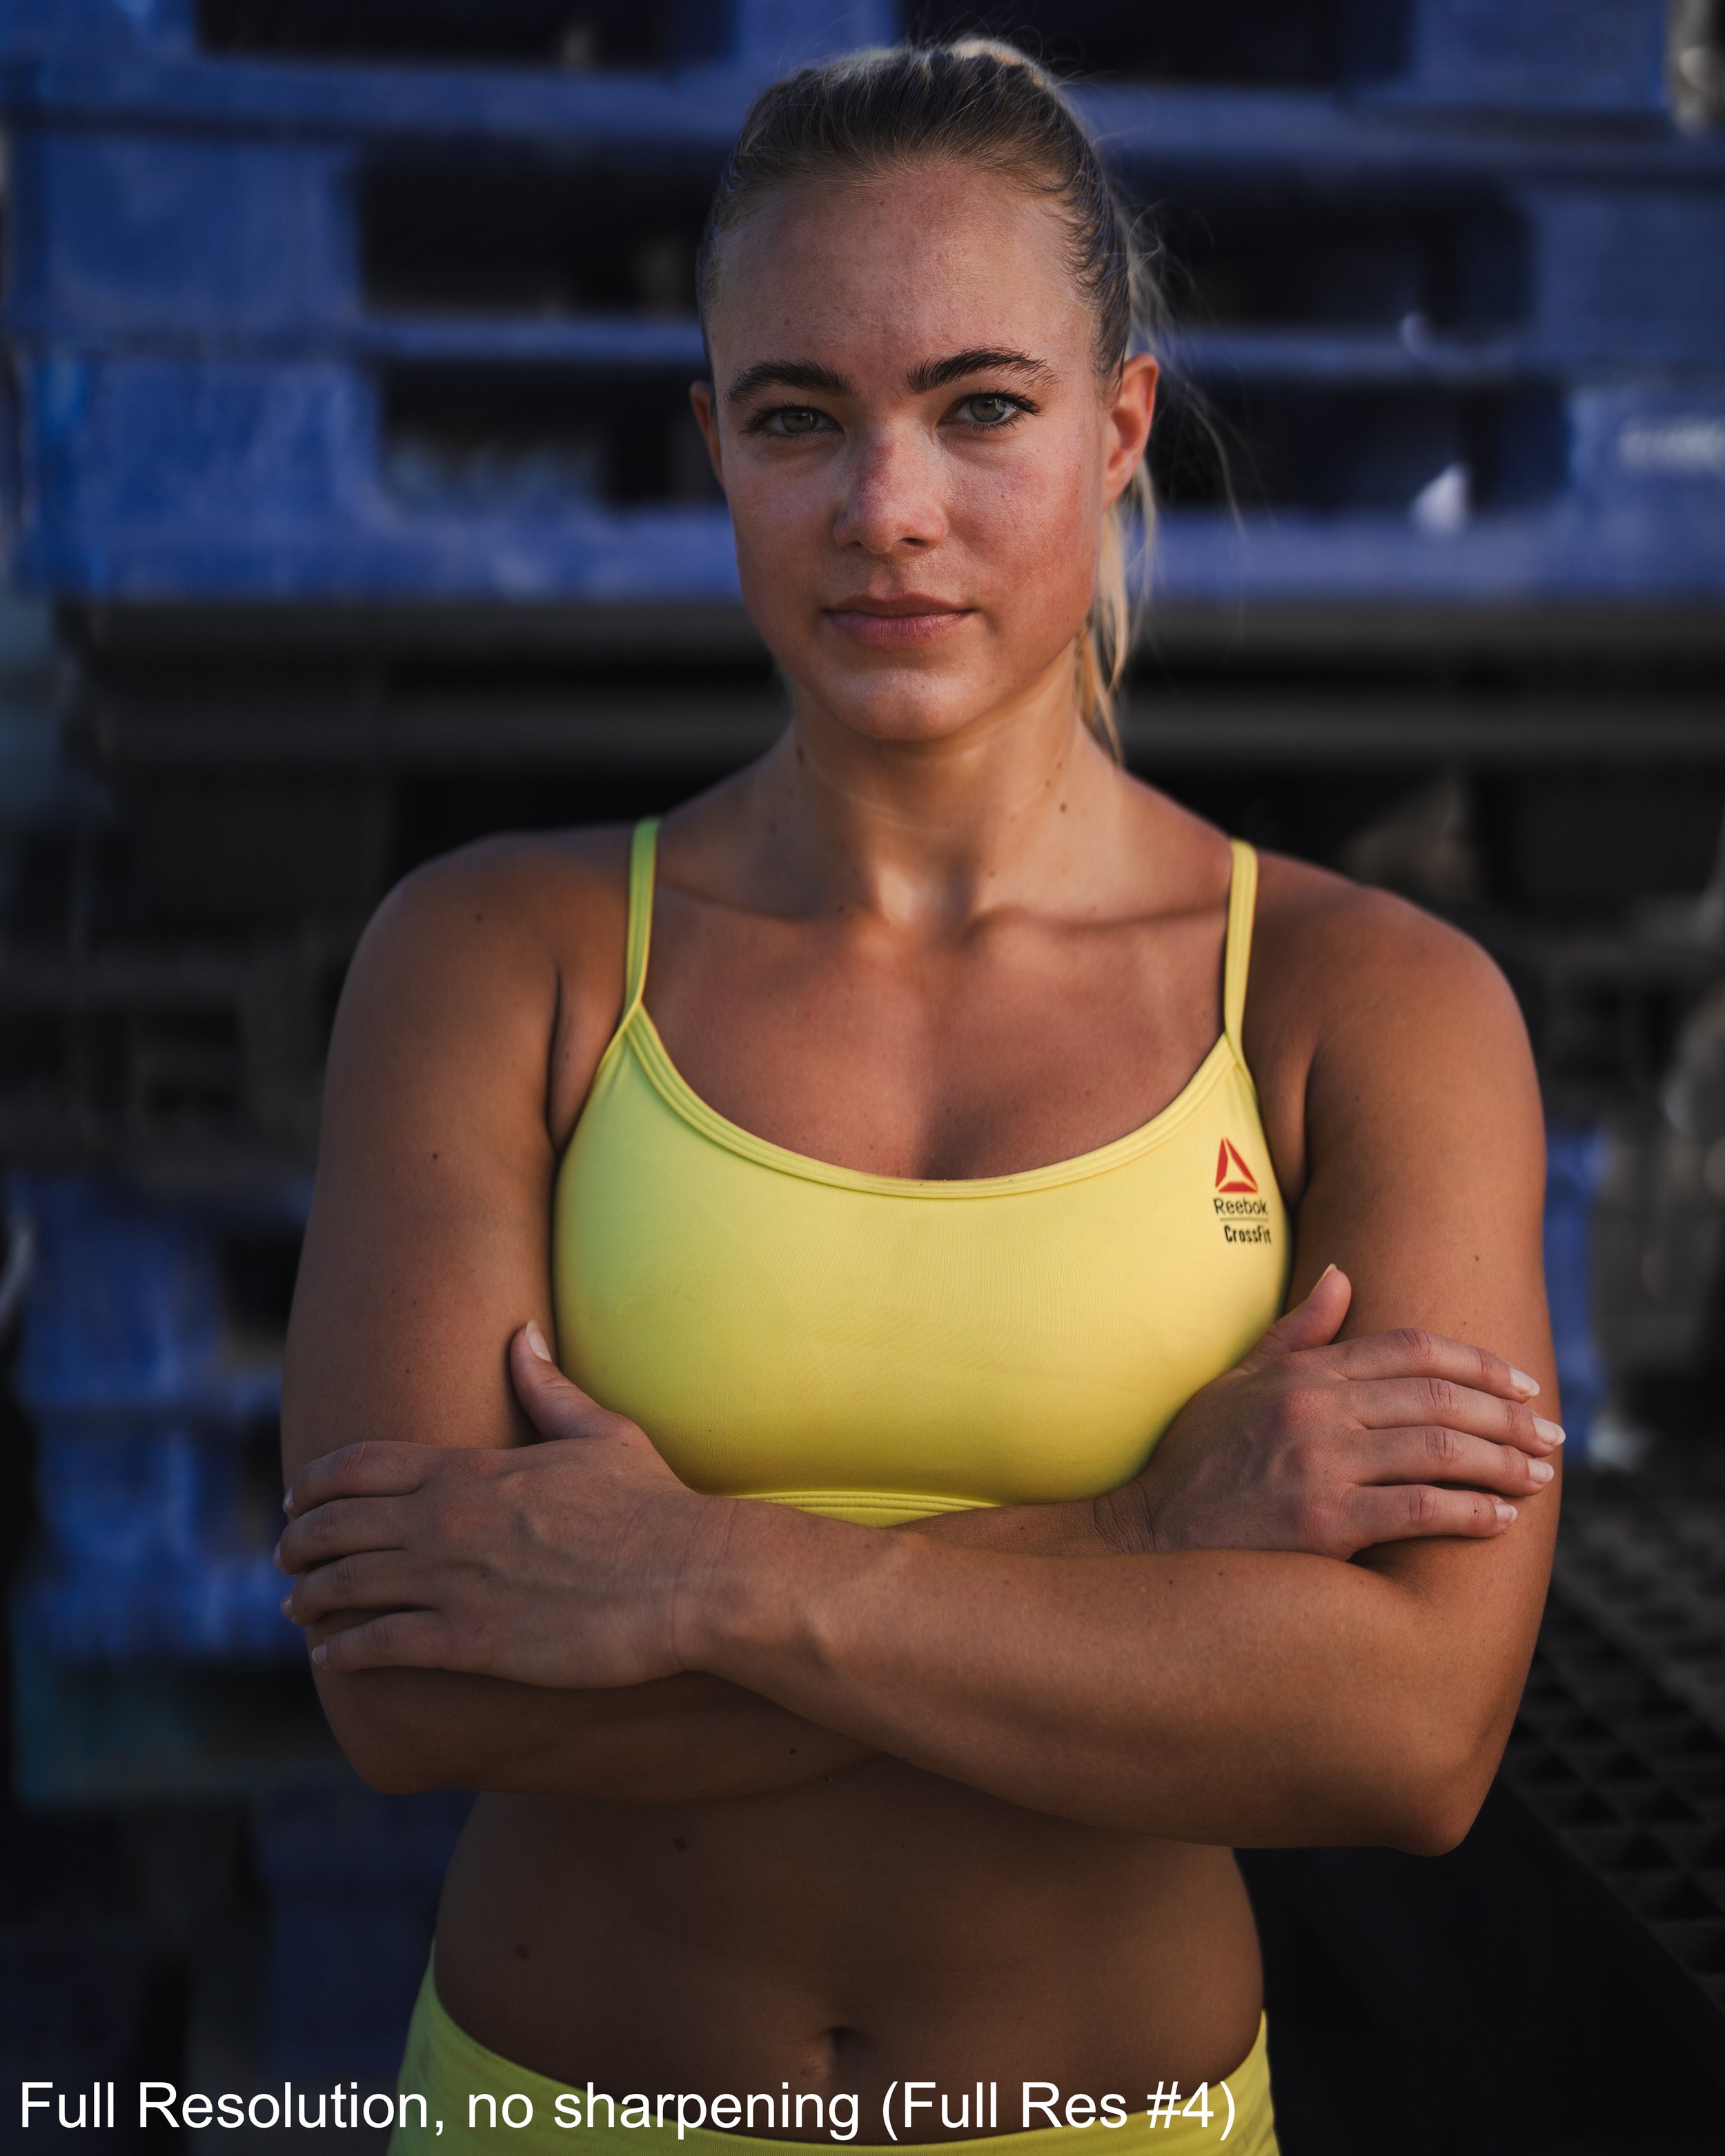
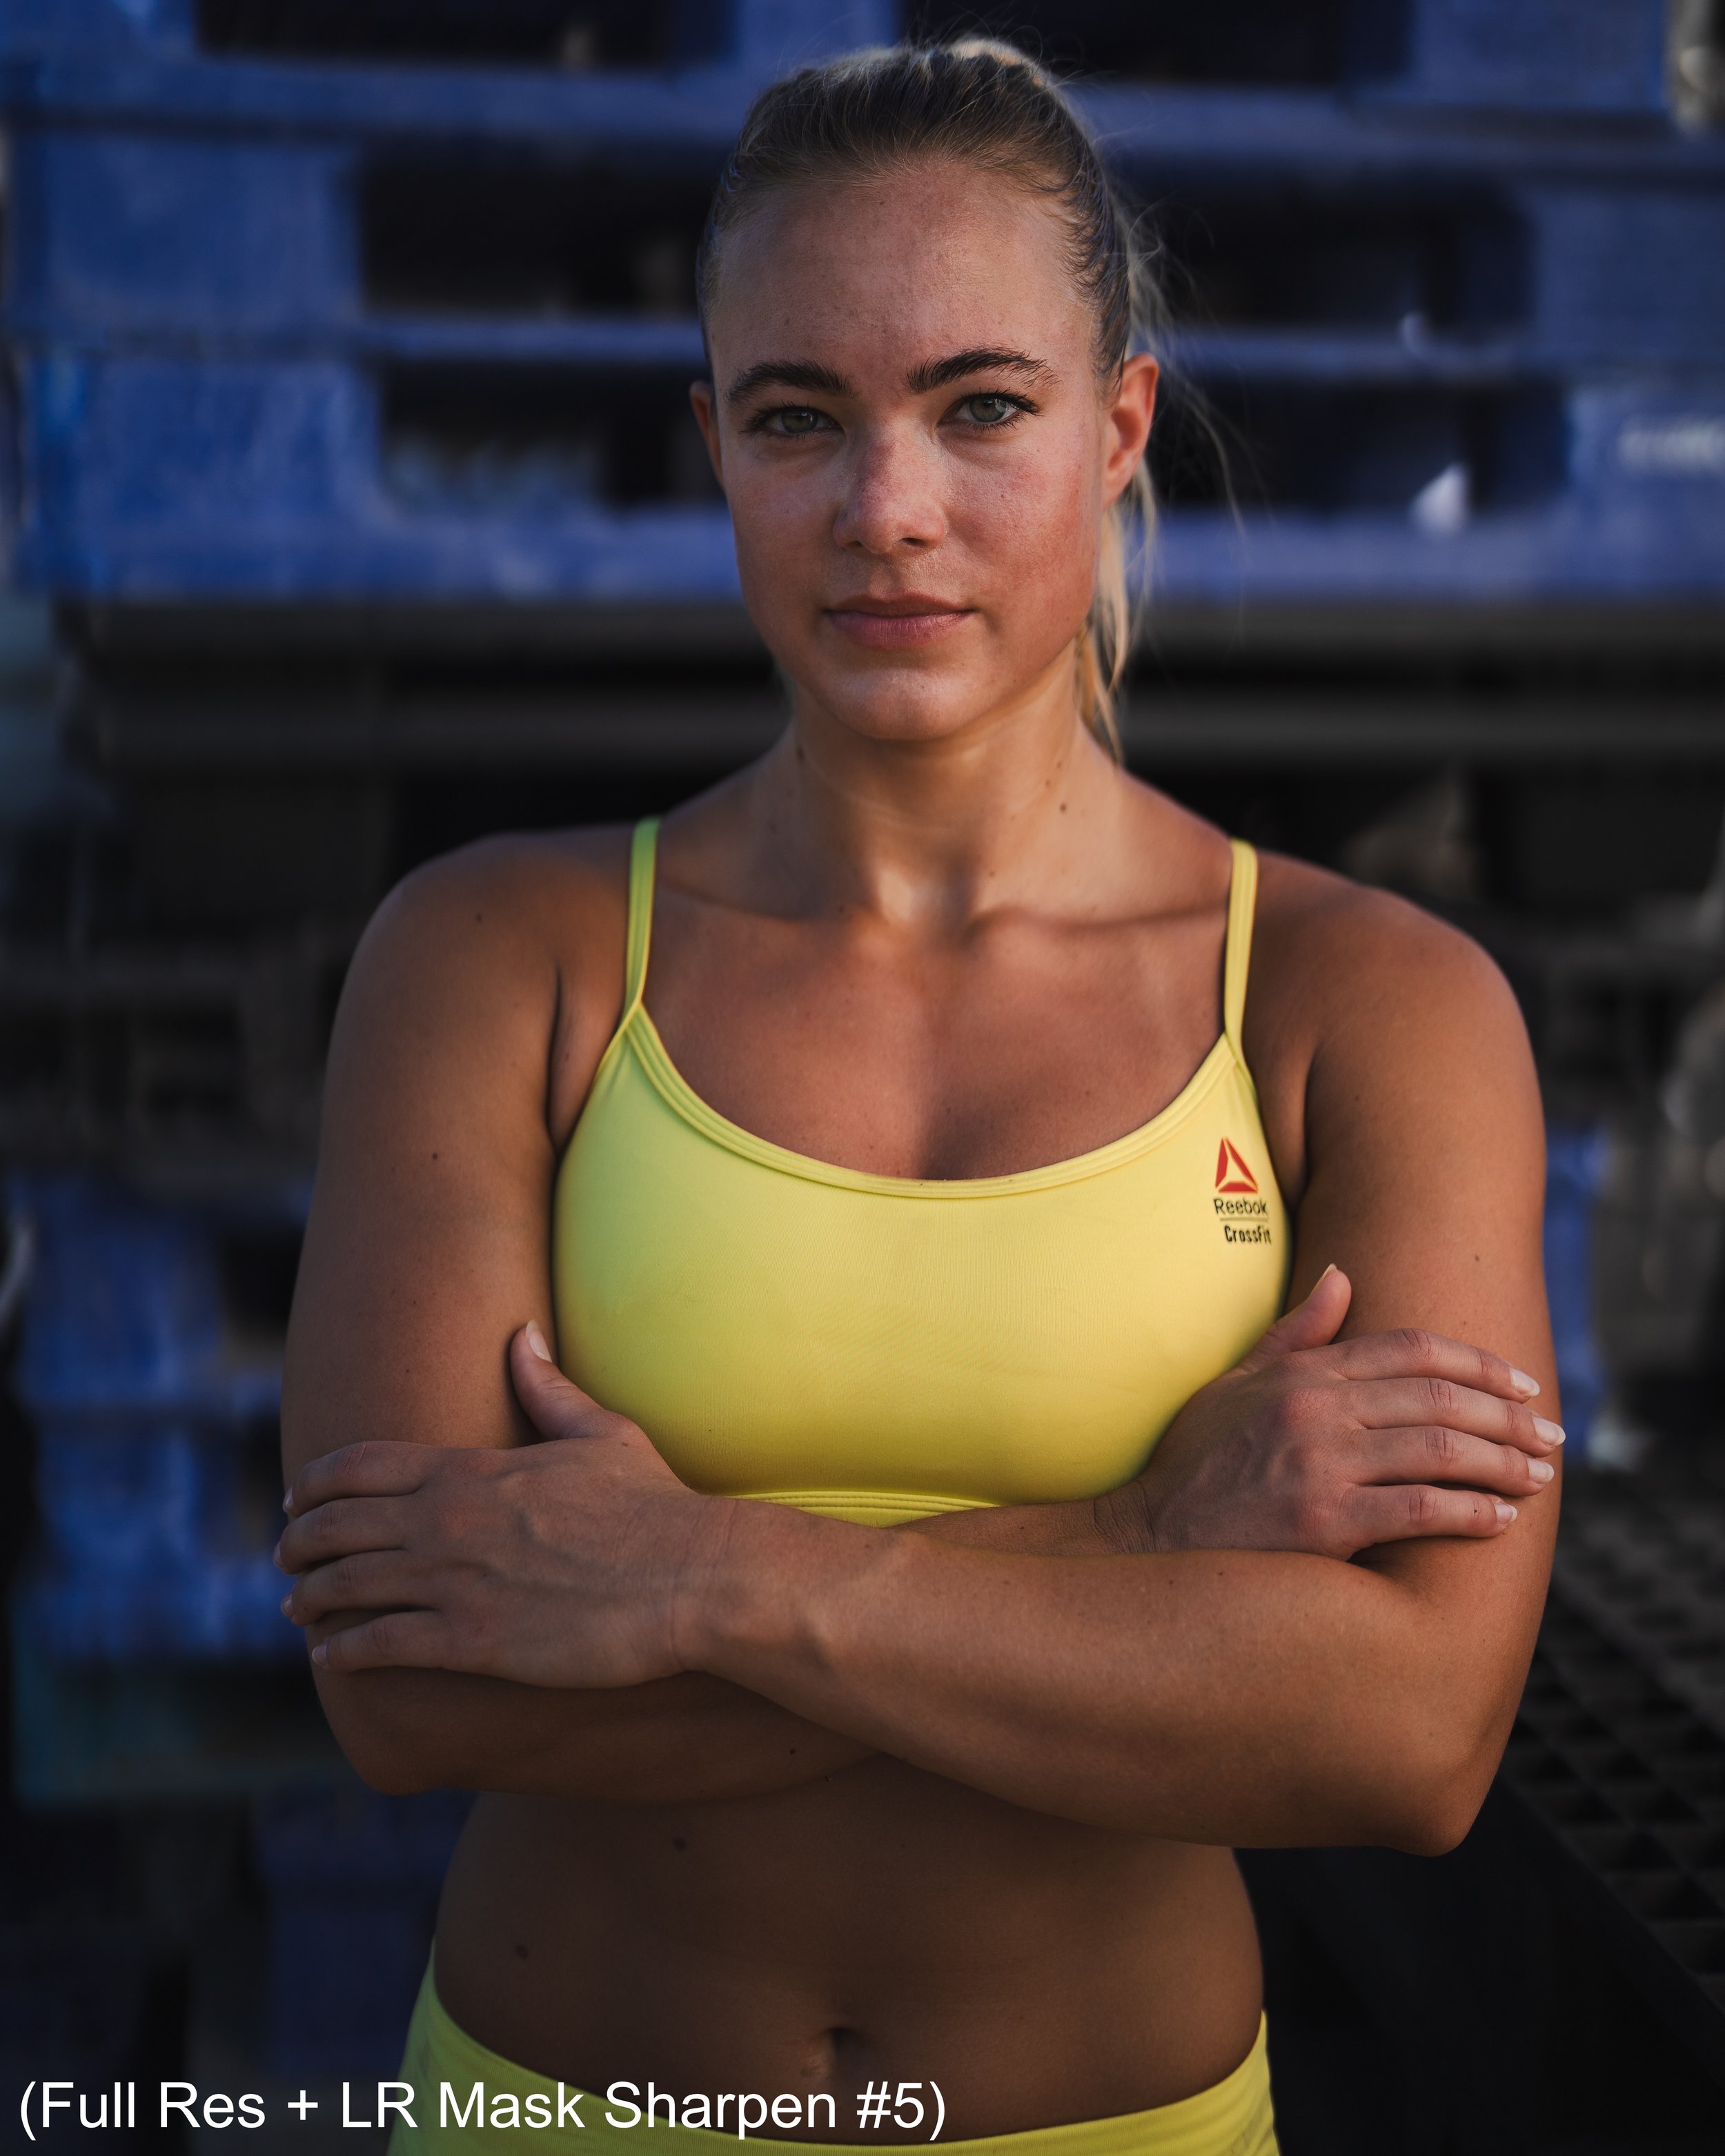
Final image and comparison:
The results are nuanced but I think meaningful when you start considering smaller details and the importance of a clear image, all things that are important when you are showing athletes in motion. I’ve included a final image below (compared against the least preferred choice) in a better attempt to help compare the images. At the very least, exporting high resolution for instagram import is preferred to the Instagram recommended settings, but to get that extra detail to give the photo a little more pop, using the sharpening tools out of LR and natively in Instagram (with caution) will help.


